Guides
Gallery Wall Guides
Gallery Wall Guides
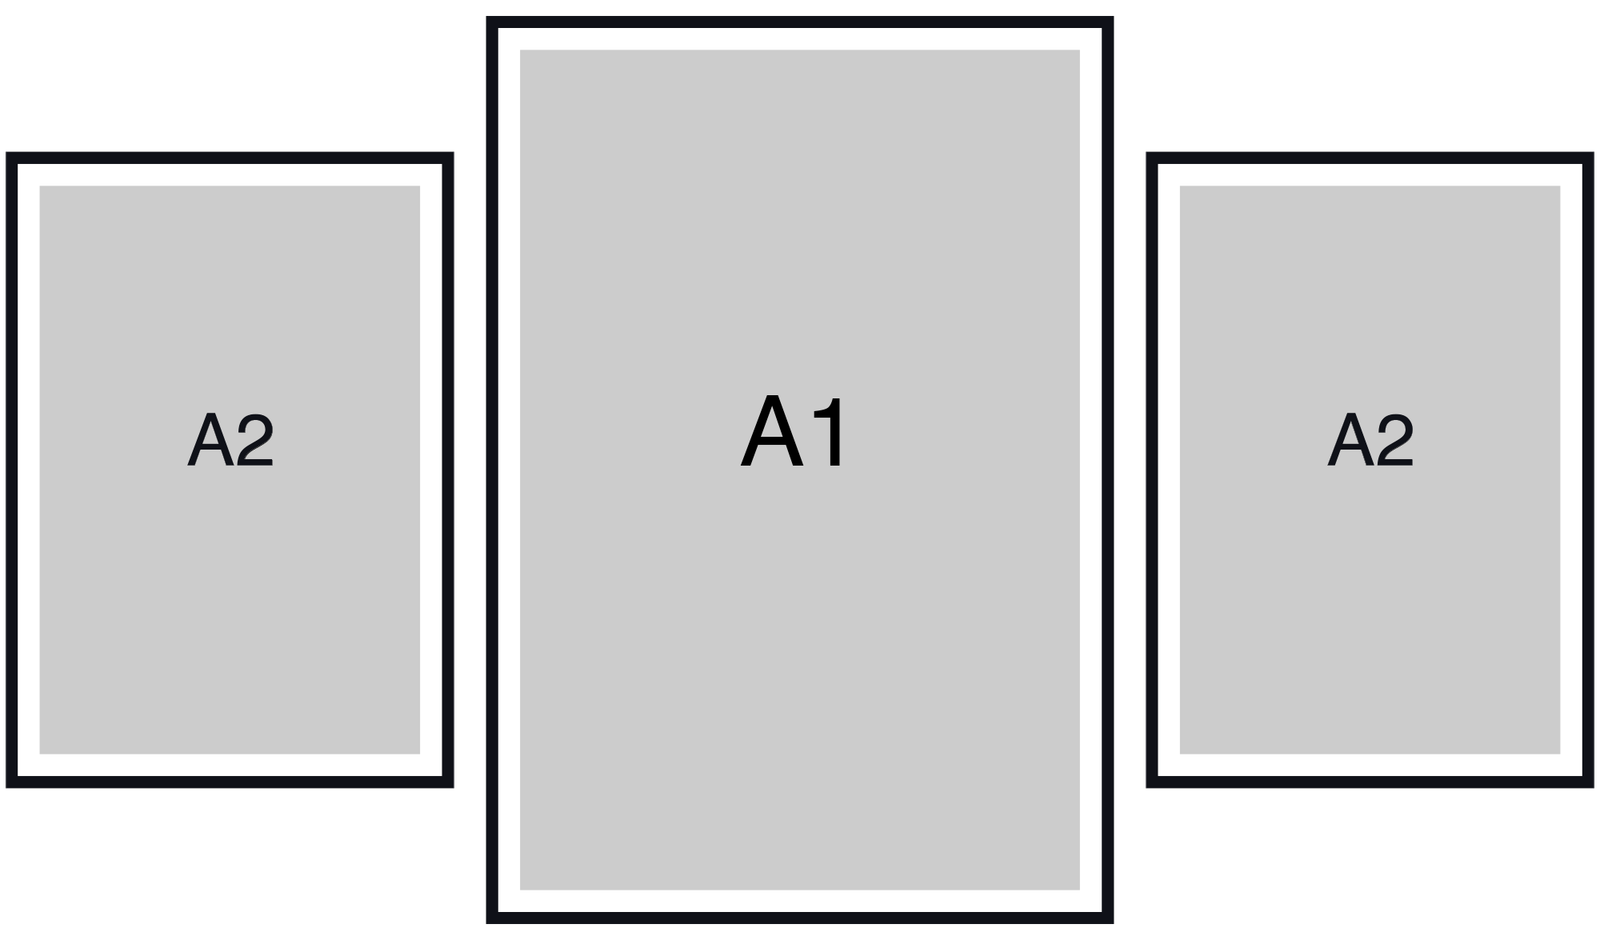
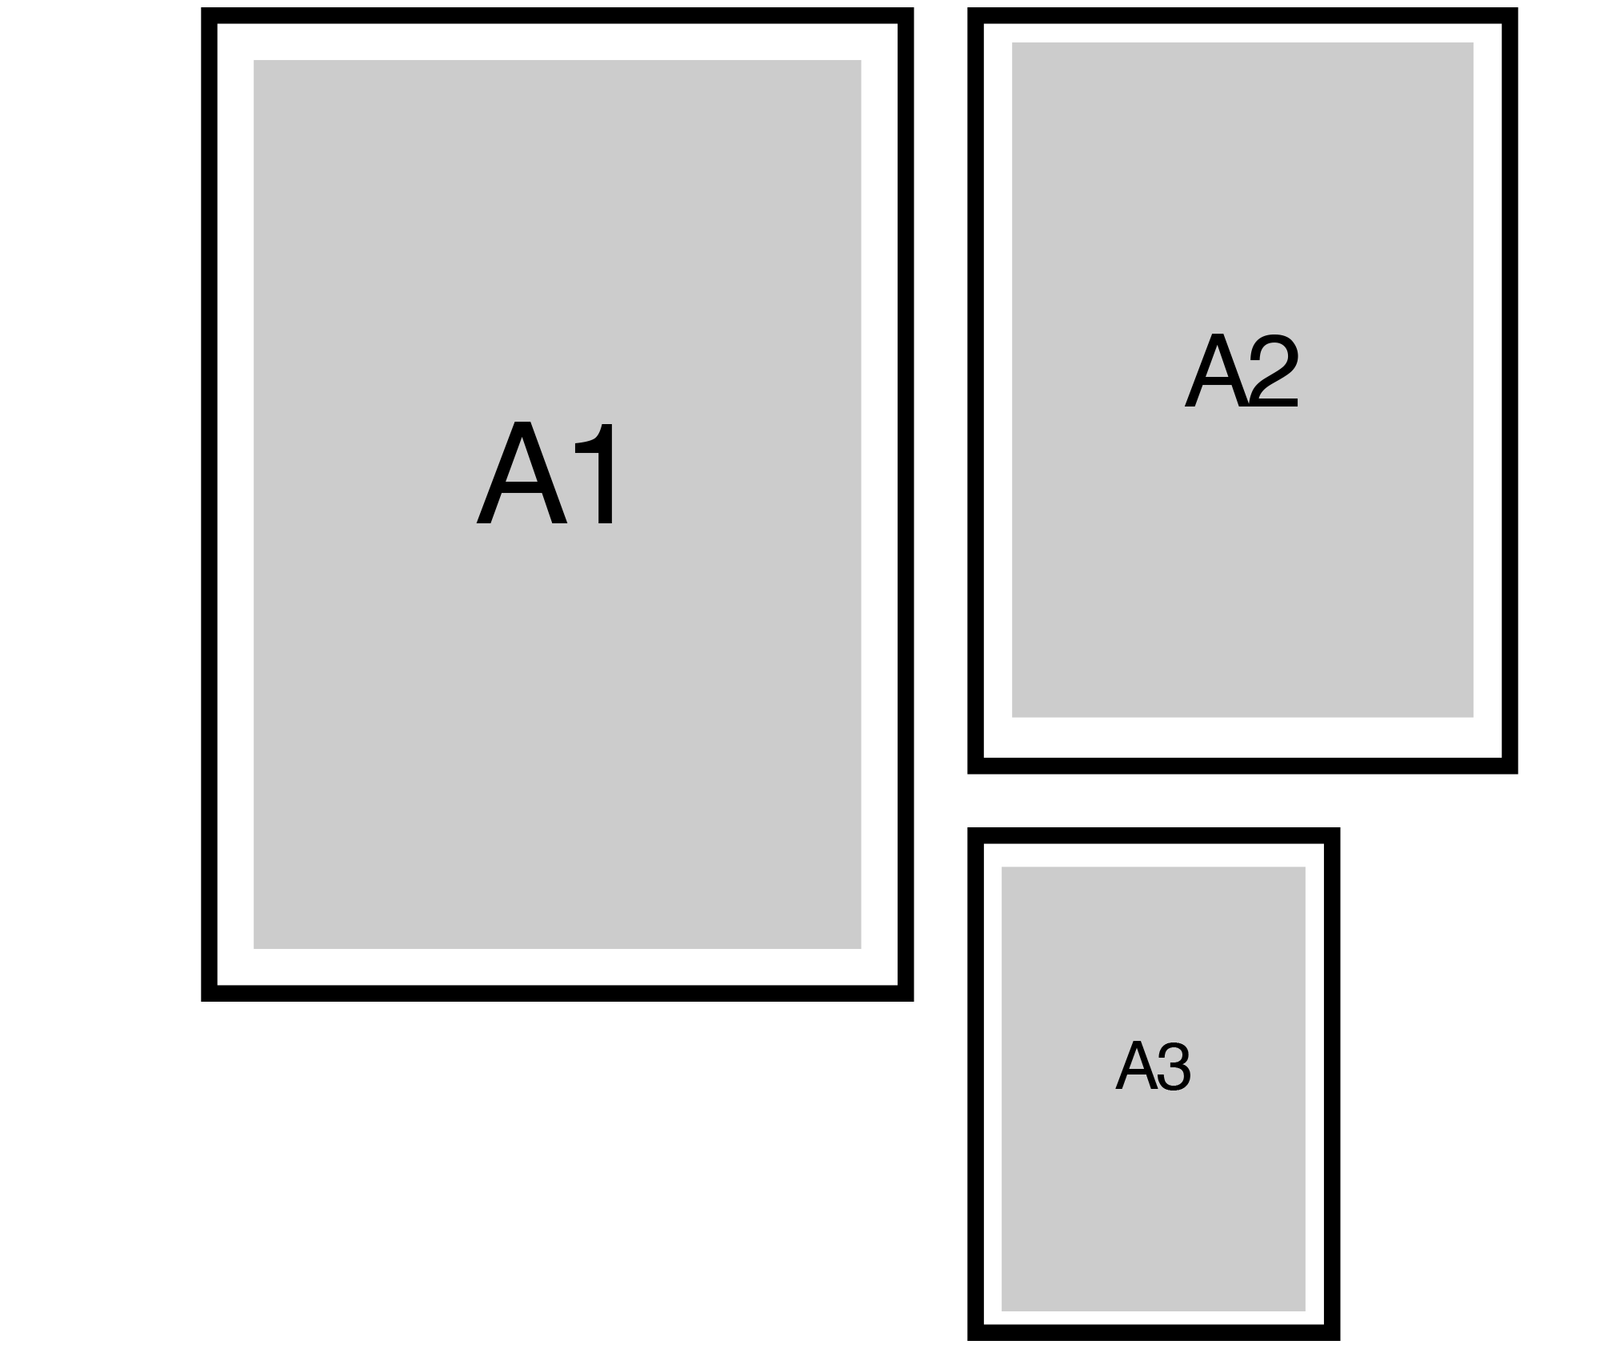
*Measurements in inches + cm • A1 / A2 / A3 friendly
3-Print Guides
3 Print Center Anchor
Width
Height
Spacing
Frame width
Best for
Practical Tip
70.96 in (180.26 cm)
36.11 in (91.72 cm)
2.75 in (7 cm)
1.5 in (example)
84–96 in sofa/console
Hang the A1 first (center anchor), then level the two A2s to the A1 top edge—keep the 2.75 in (7 cm) gaps consistent.
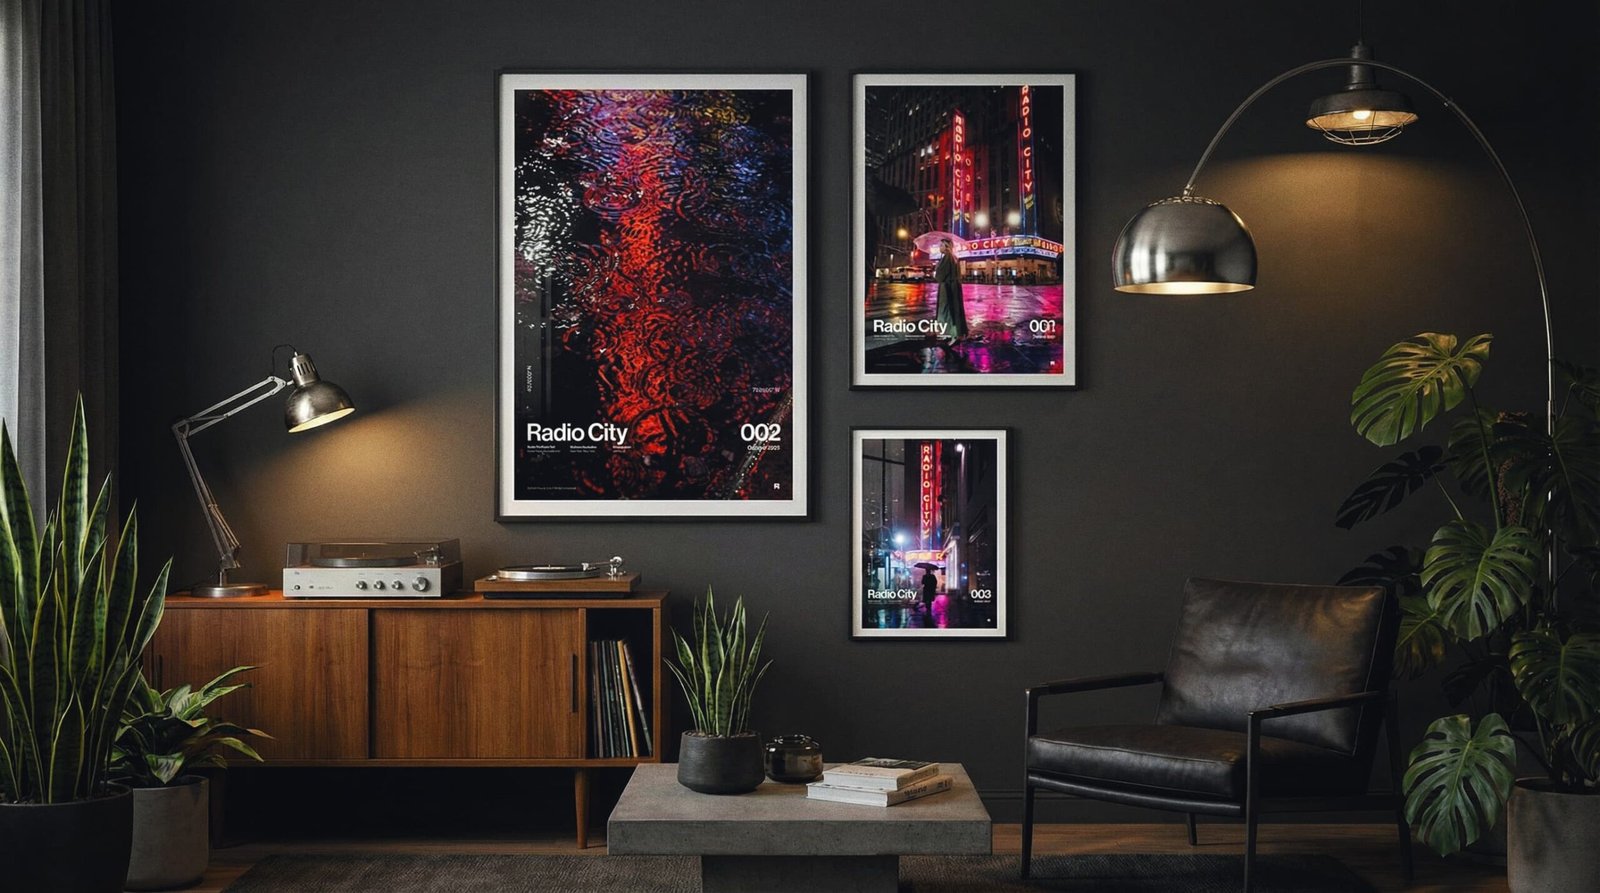
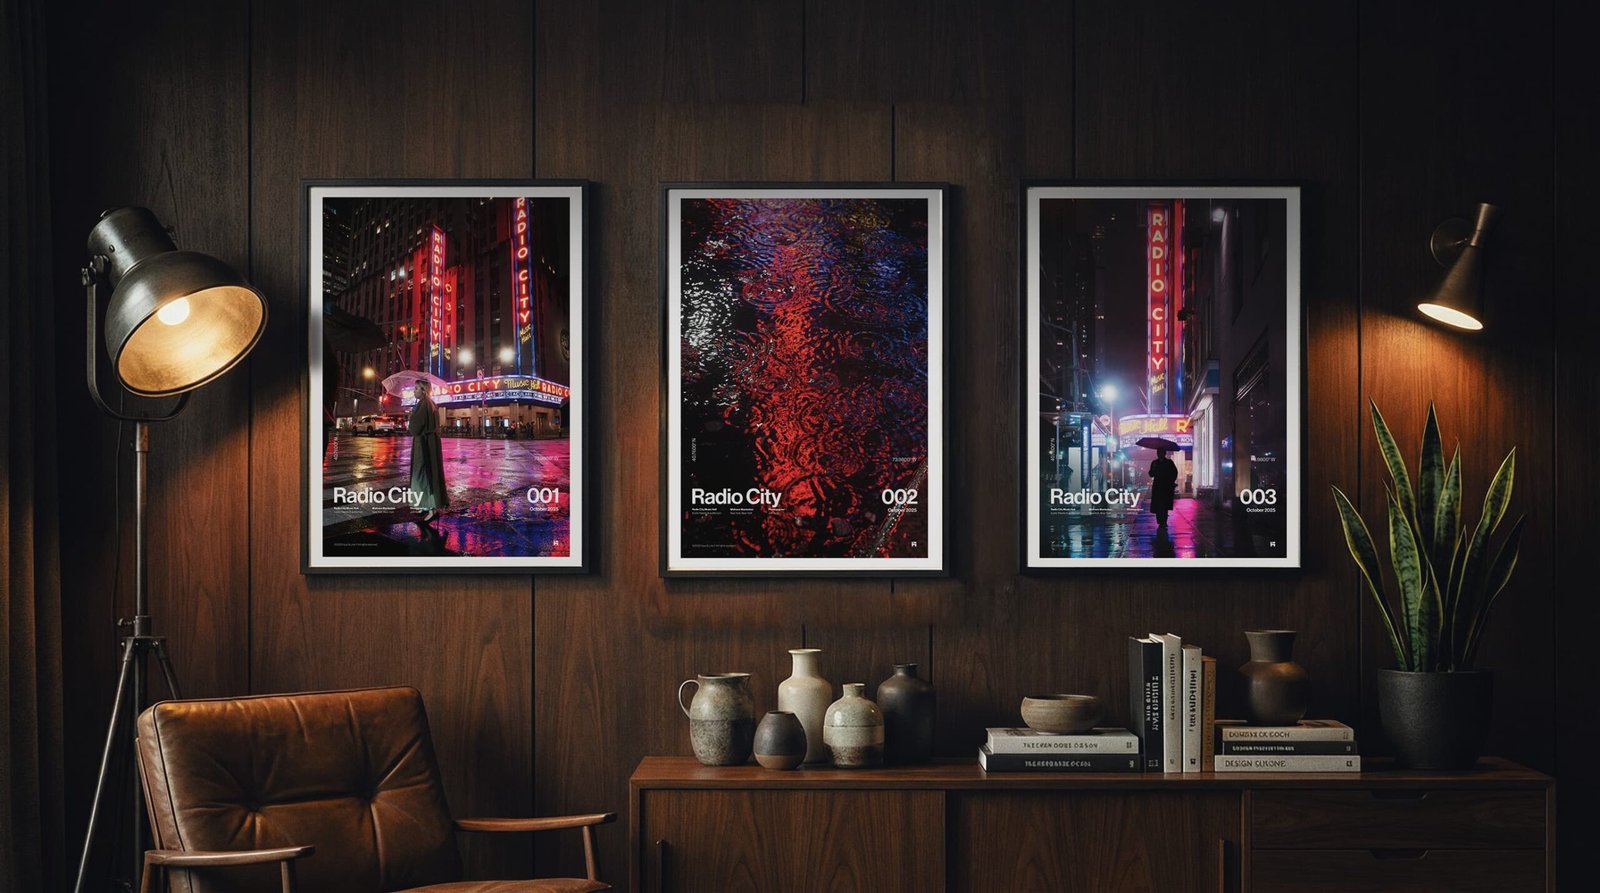
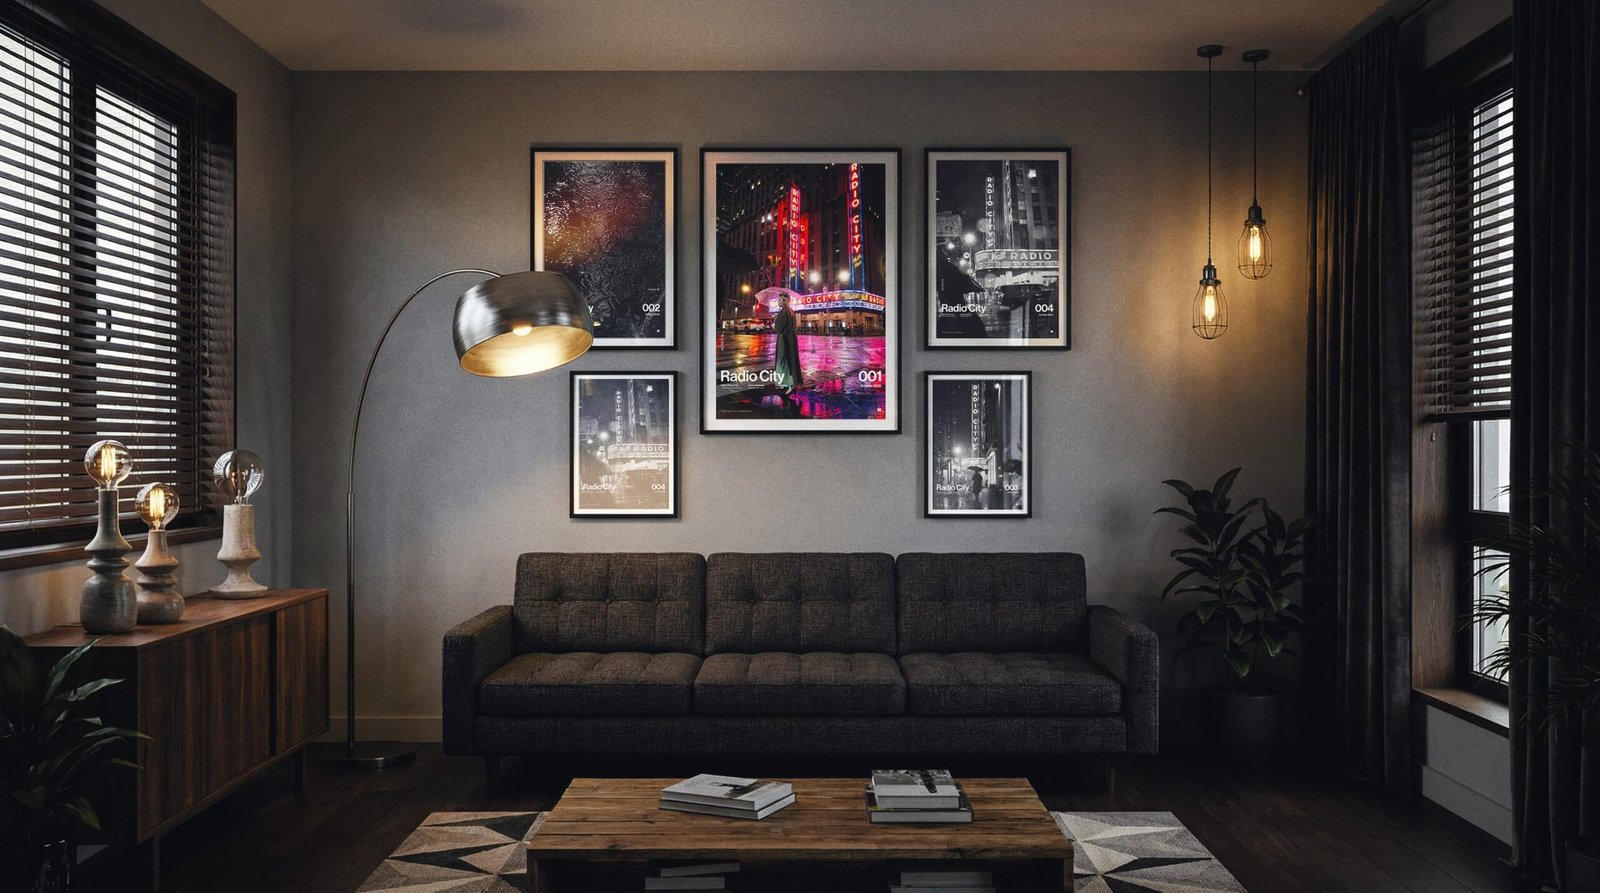
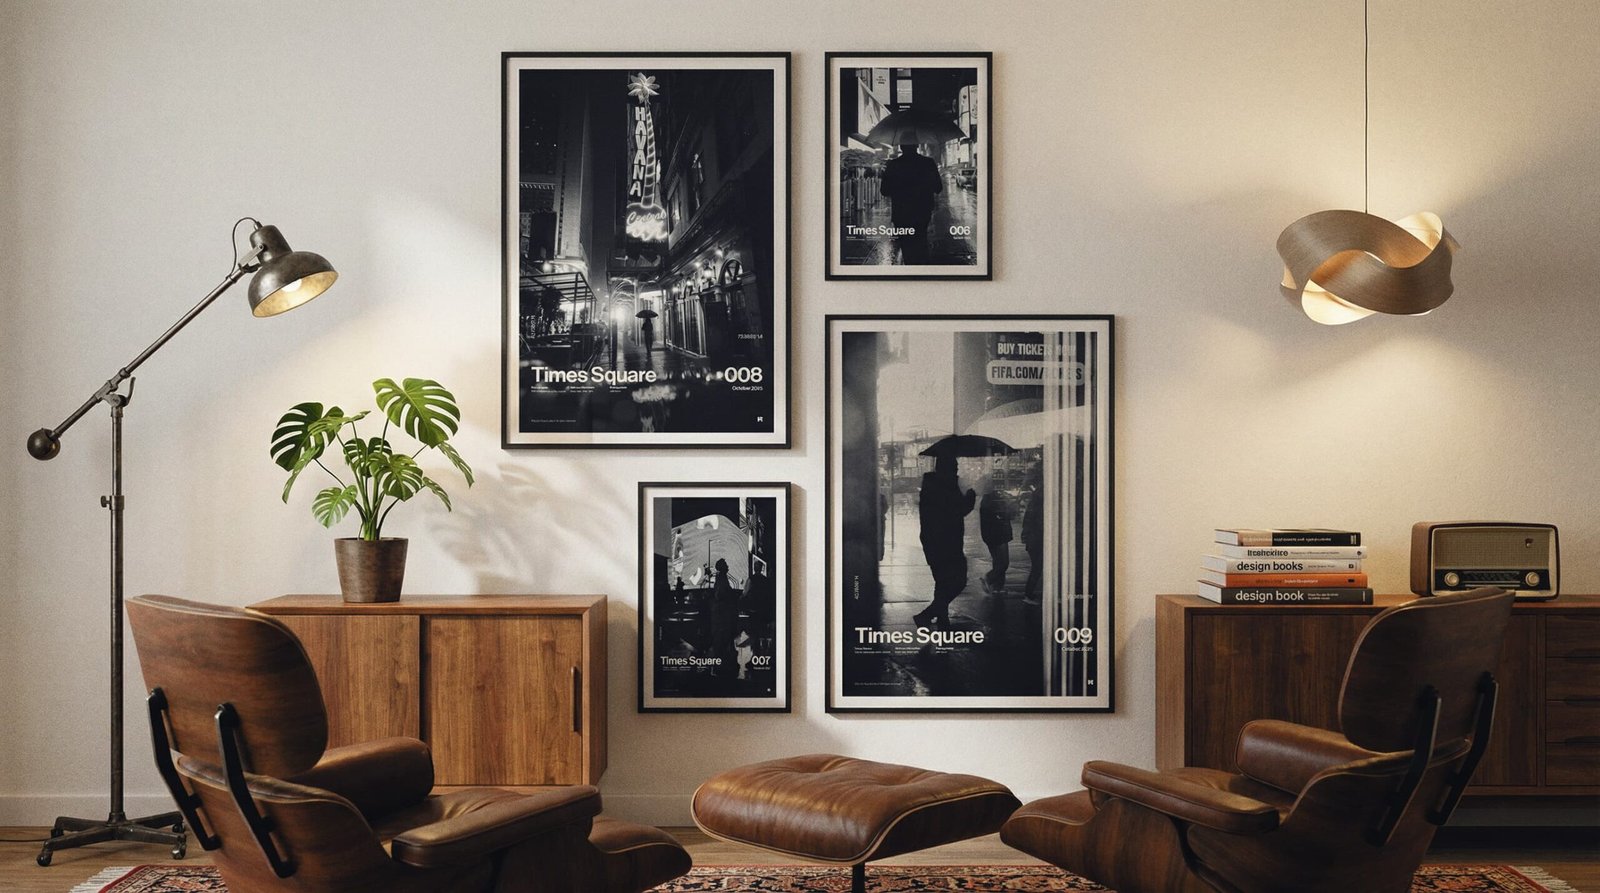
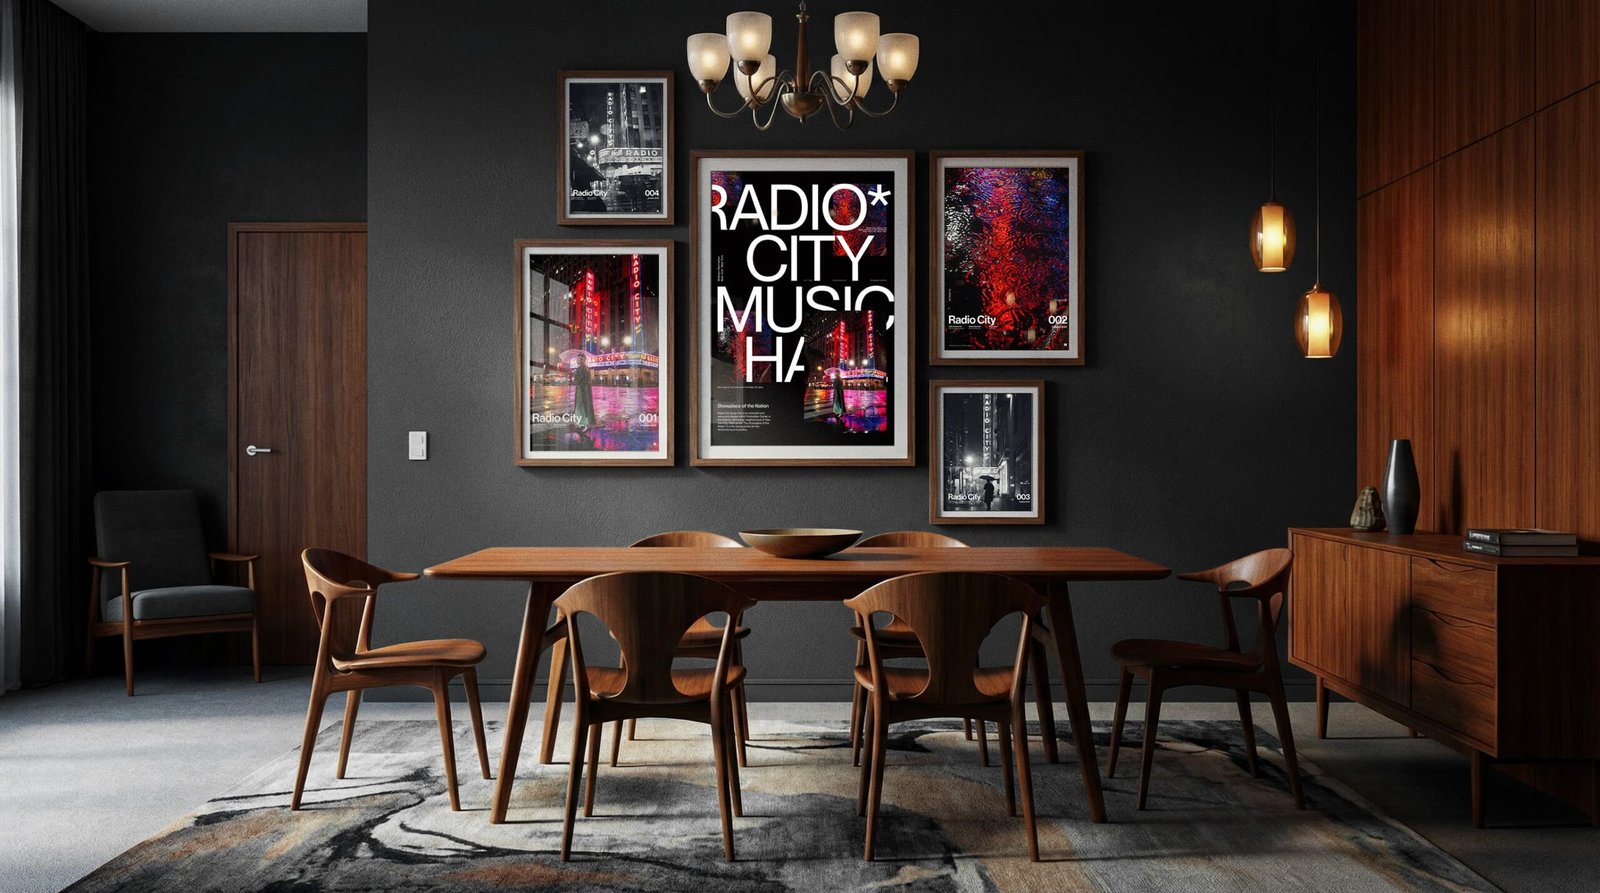
In-Room Examples
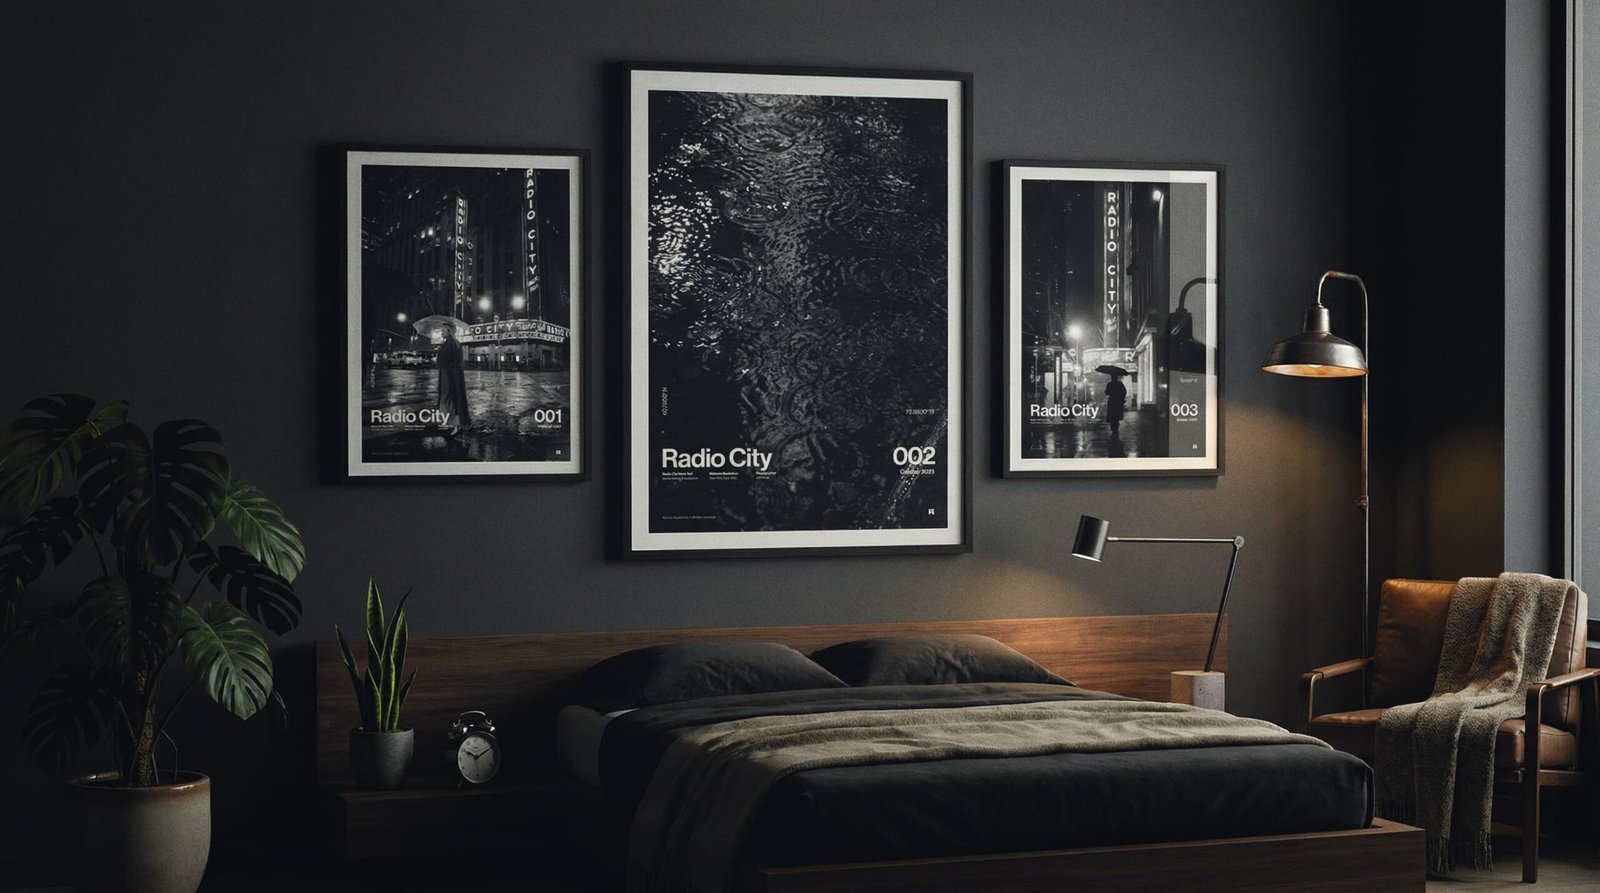
*Artist renderings are for inspiration and approximate scale only
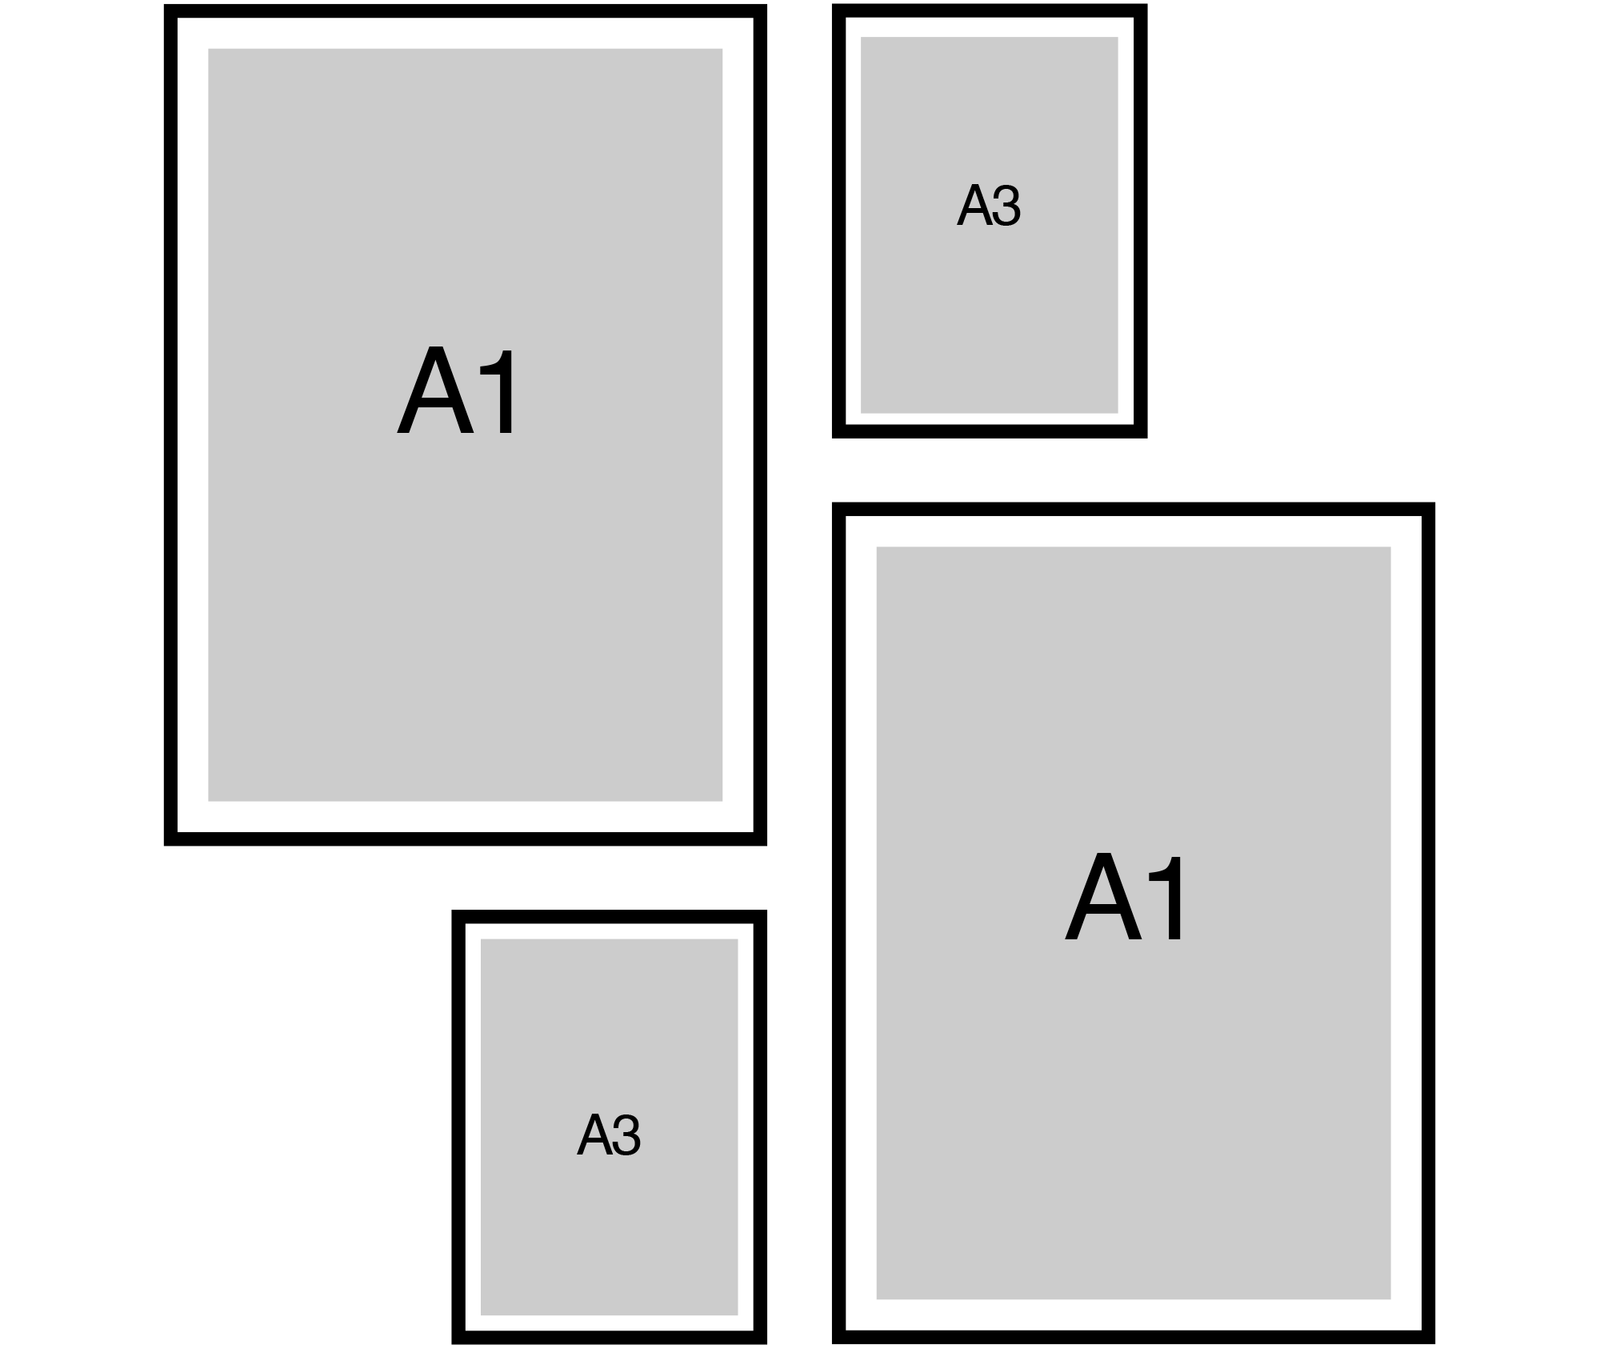
3 Print Asymmetrical
Width
Height
Spacing
Frame width
Best for
Practical Tip
48.68 in (123.64 cm)
48.68 in (123.64 cm)
2.75 in (7 cm)
1.5 in (example)
54–66 in wall width (137–168 cm)
Hang the A1 first (left anchor). Set the A2 to the top-right with the same 2.75” gap, then stack the A3 below A2—keep the vertical gap identical so the right column reads clean and intentional.
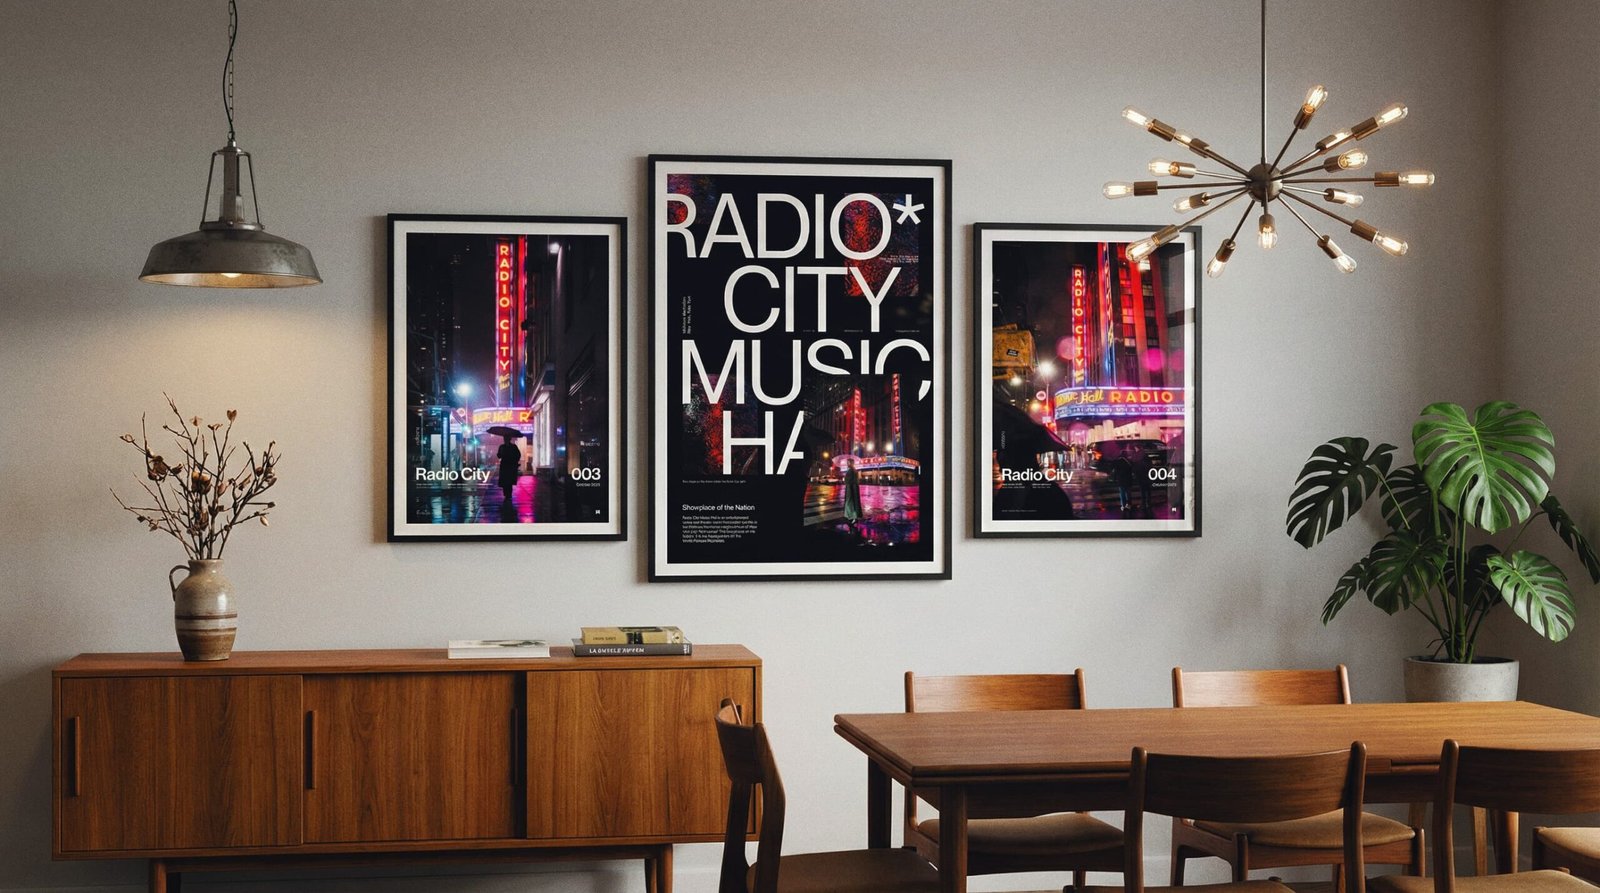
In-Room Examples
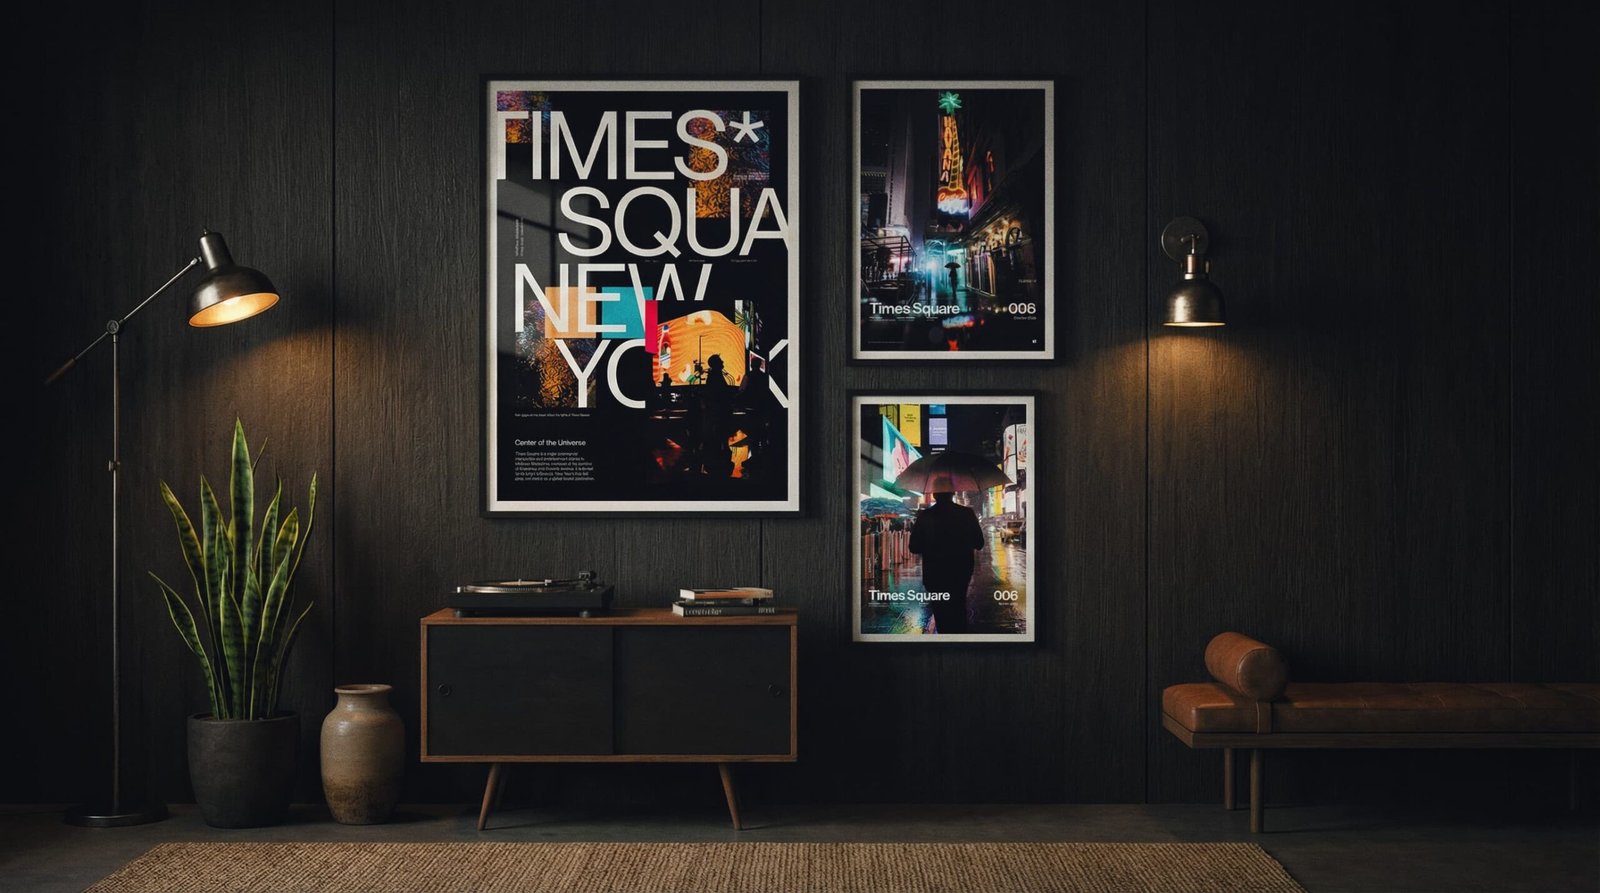
*Artist renderings are for inspiration and approximate scale only
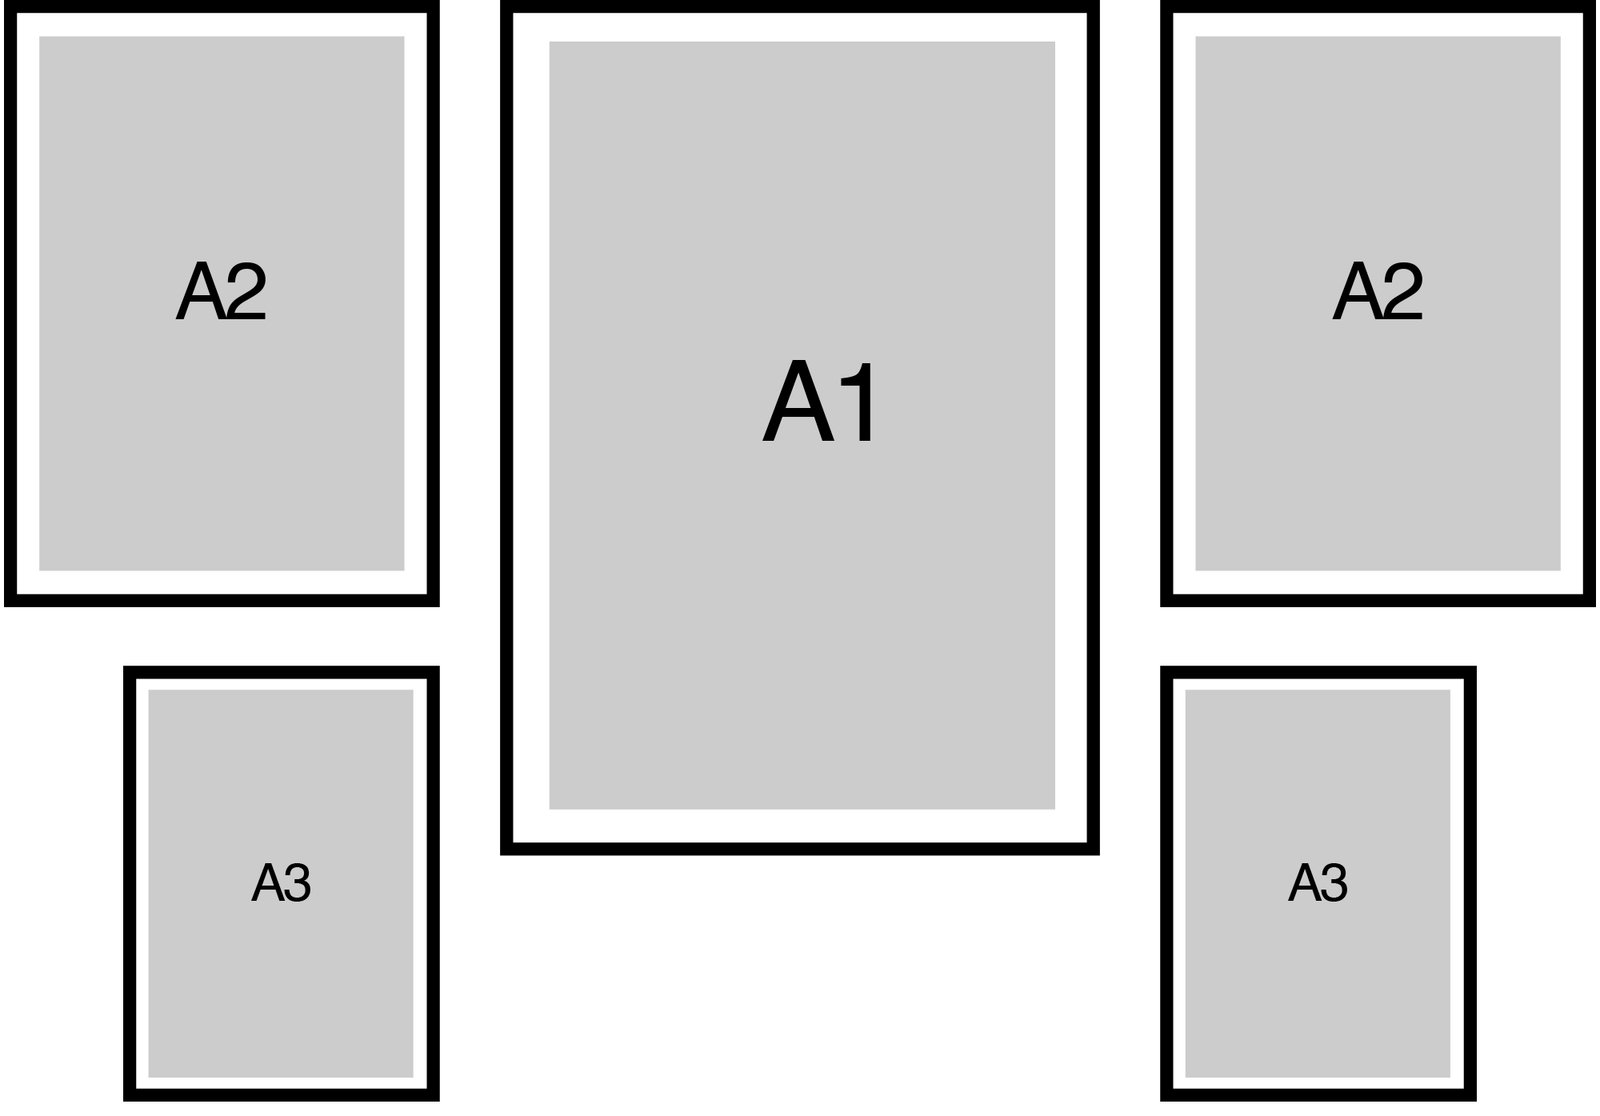
3 Print Basic Row
Width
Height
Spacing
Frame width
Best for
Practical Tip
70.96 in (180.26 cm)
48.68 in (123.64 cm)
2.75 in (7 cm)
1.5 in (example)
72–84 in sofa/console
Hang the A1 first (center anchor), then place the A2s, then finish with the A3s—keep equal gaps throughout.

In-Room Examples

*Artist renderings are for inspiration and approximate scale only
4-Print Guides
4 Print Statement Wall
Width
Height
Spacing
Frame width
Best for
Practical Tip
55.52 in (141.03 cm)
65.25 in (165.72 cm)
2.75 in (7 cm)
1.5 in (example)
60–72 in sofa/console
Hang the two A1s first (top row), lock the center gap, then place the A2s directly beneath—keep the vertical gap identical to the center gap.

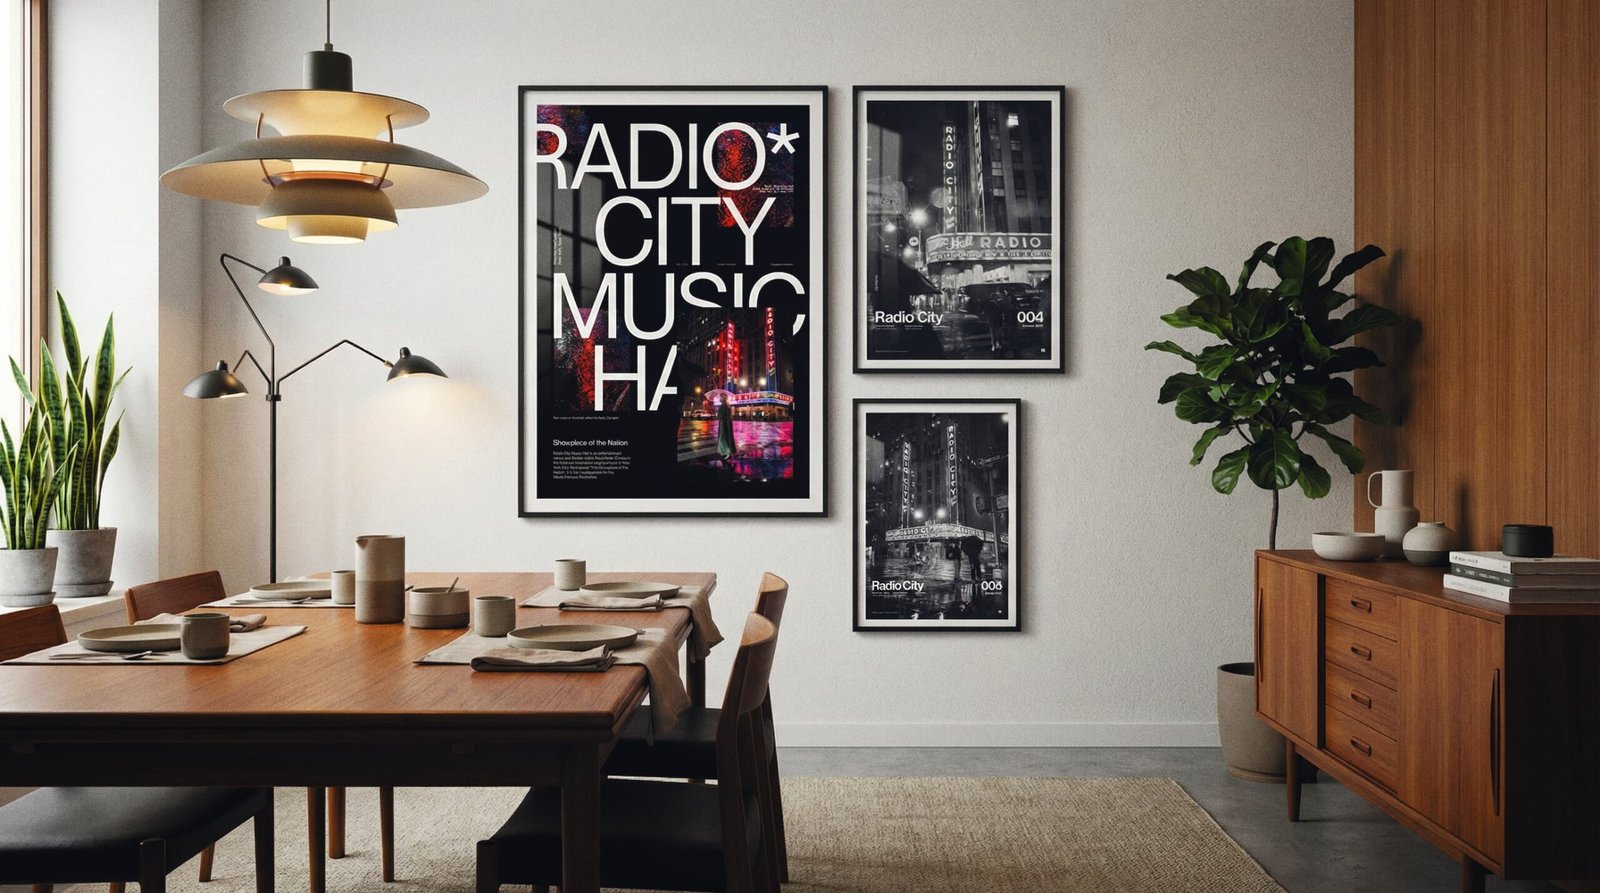
In-Room Examples
*Artist renderings are for inspiration and approximate scale only
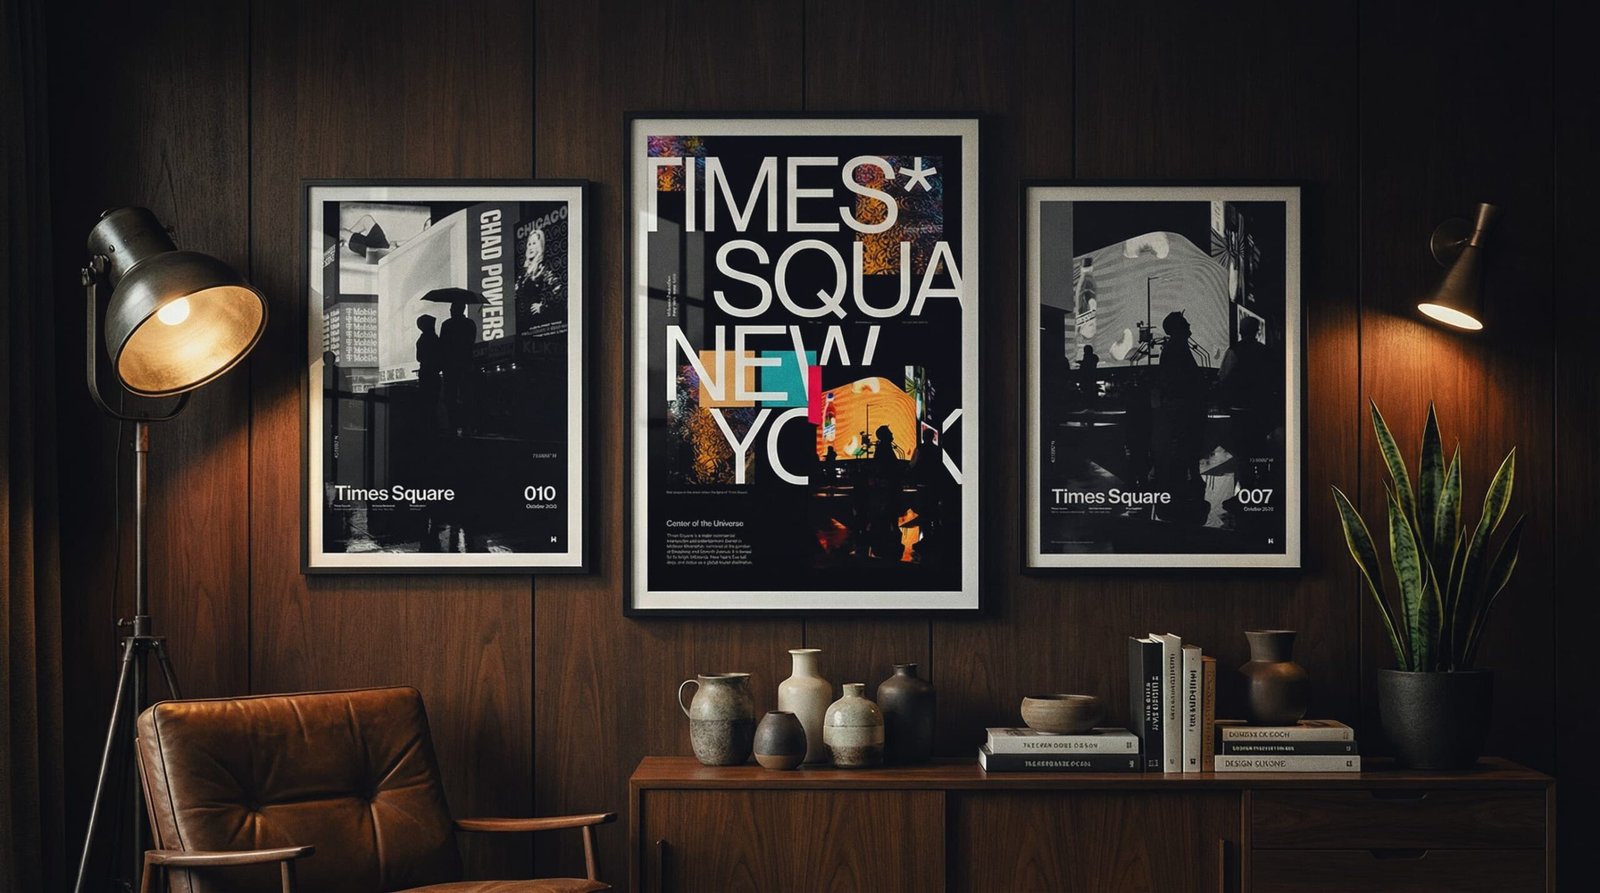
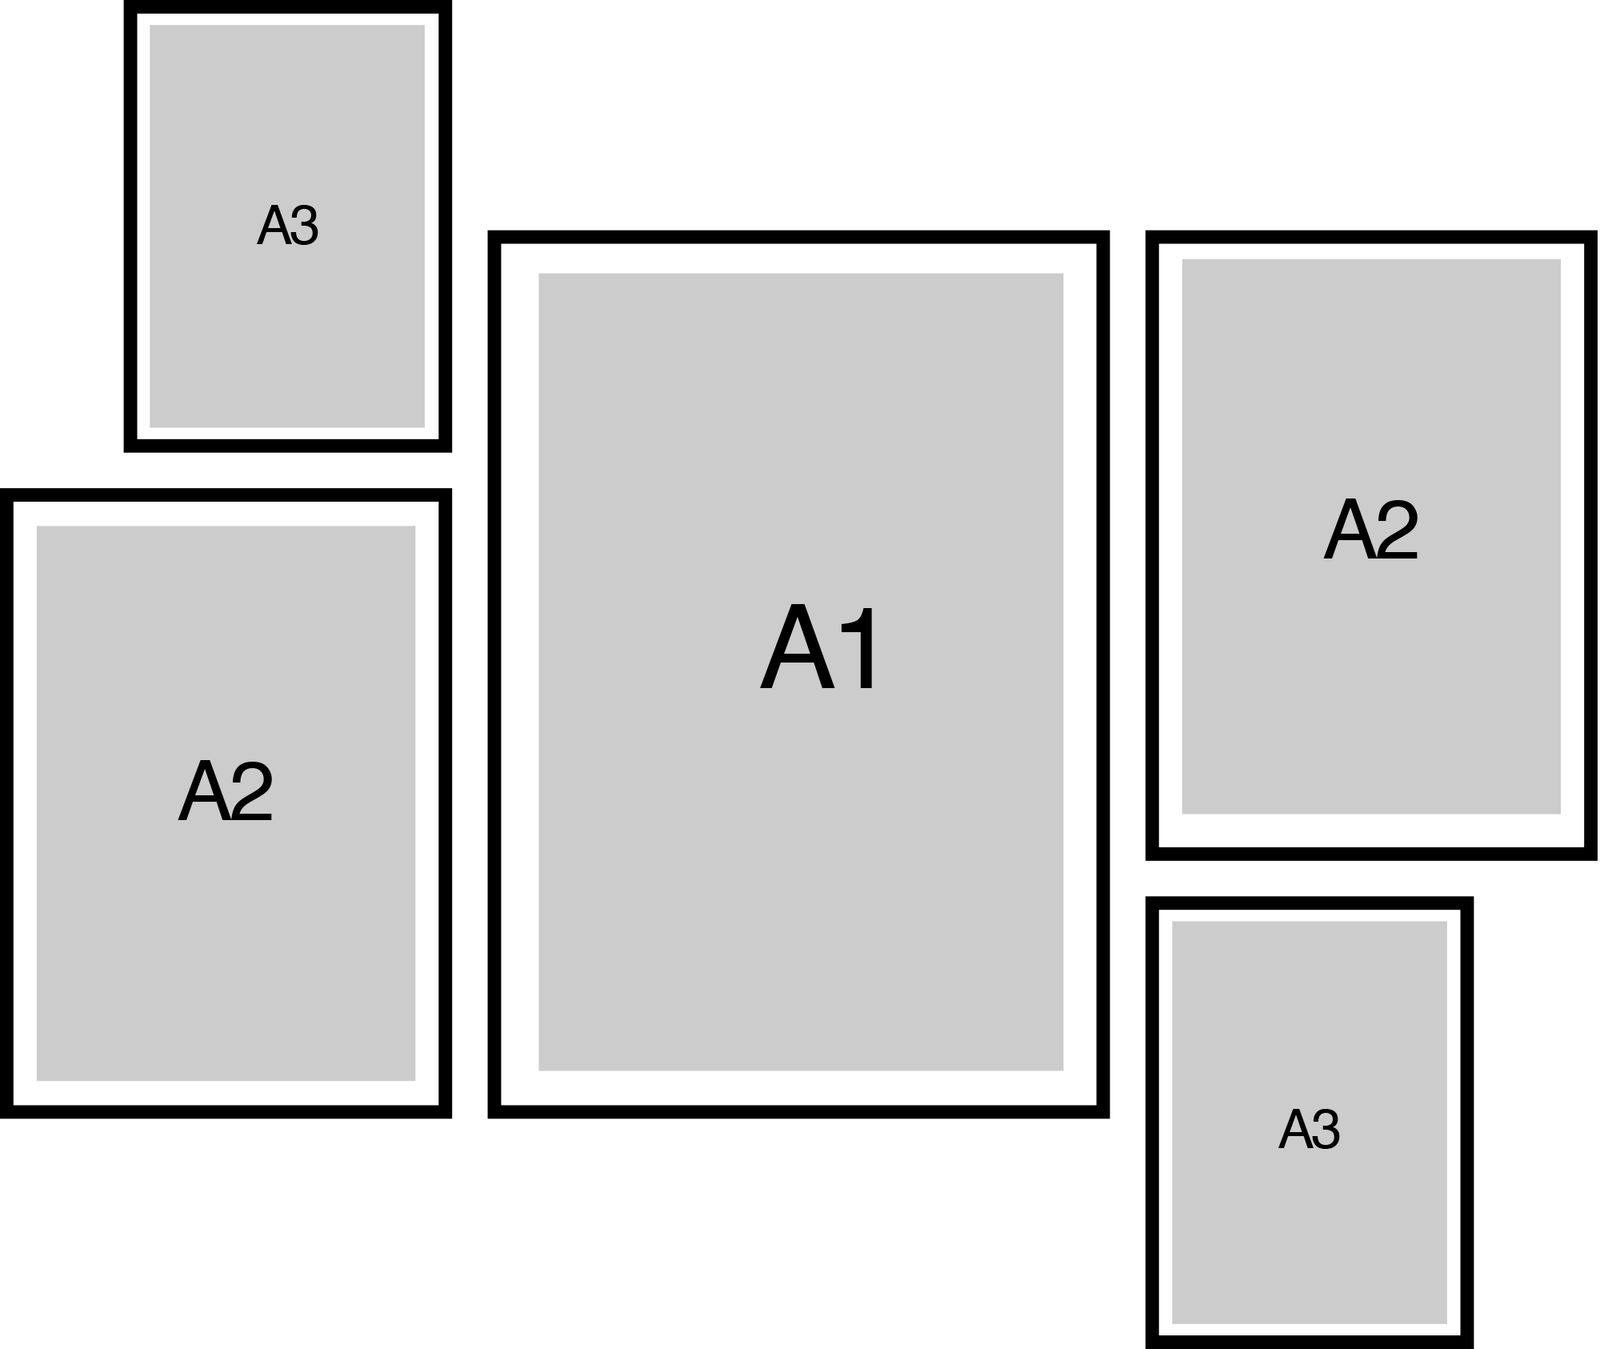
4 Print Asymmetrical
Width
Height
Spacing
Frame width
Best for
Practical Tip
70.96 in (180.26 cm)
48.68 in (123.64 cm)
2.75 in (7 cm)
1.5 in (example)
72–84 in sofa/console
Hang the A1 first (center anchor), then place the A2s, then finish with the A3s—keep equal gaps throughout.
In-Room Examples

*Artist renderings are for inspiration and approximate scale only
In-Room Examples
*Artist renderings are for inspiration and approximate scale only
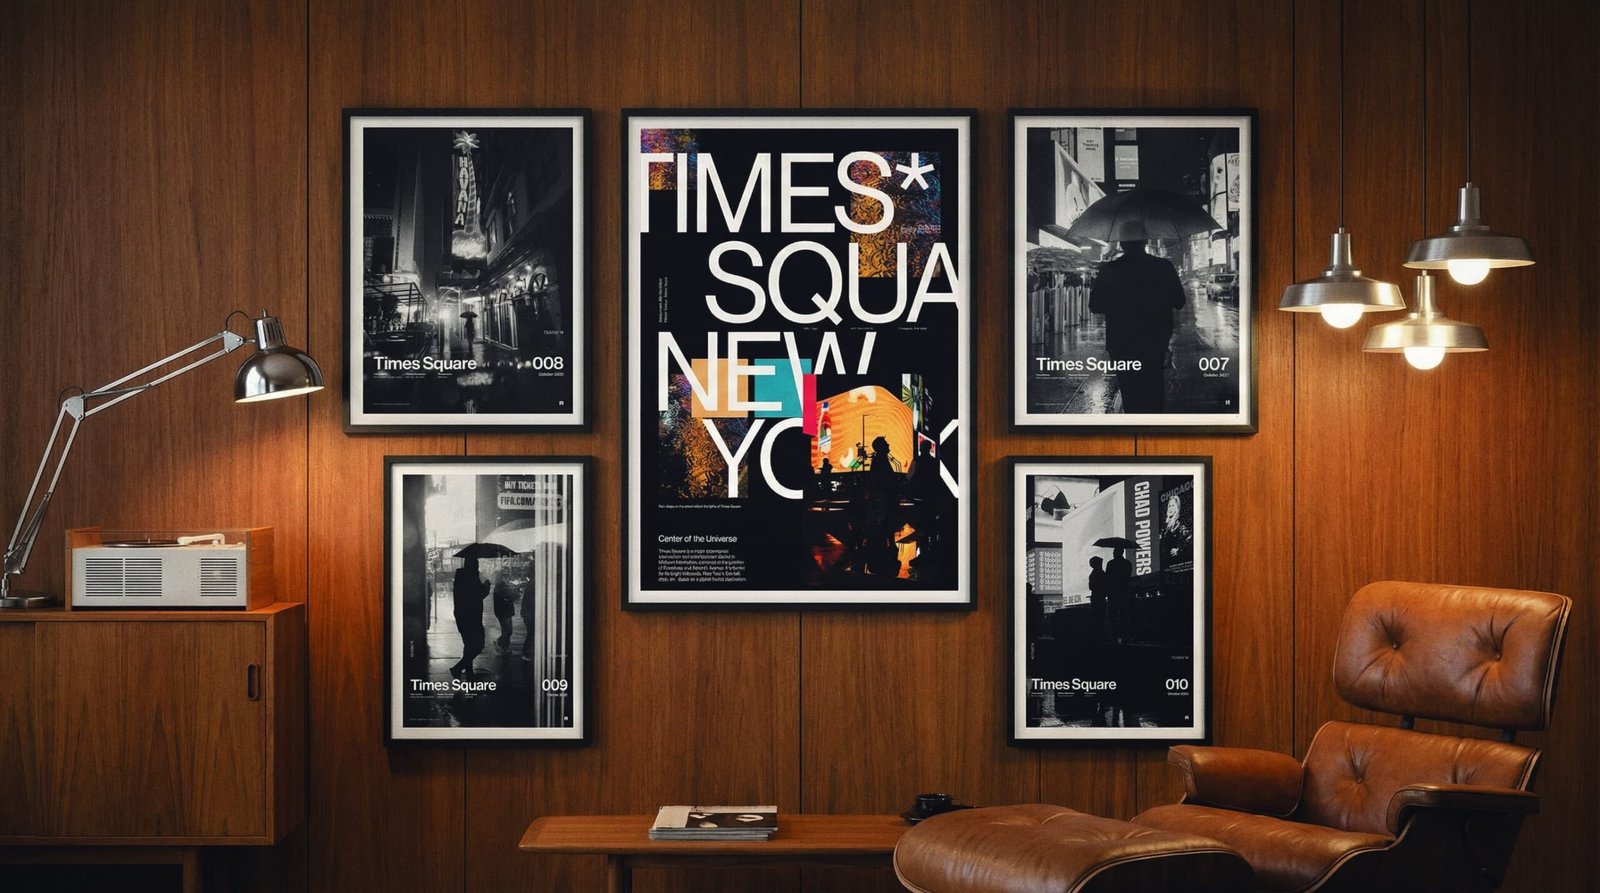
5-Print Guides
5 Print Statement Wall
Width
Height
Spacing
Frame width
Best for
Practical Tip
70.96 in (180.26 cm)
48.68 in (123.64 cm)
2.75 in (7 cm)
1.5 in (example)
72–84 in sofa/console
Hang the A1 first (center anchor), then place the A2s, then finish with the A3s—keep equal gaps throughout.
In-Room Examples
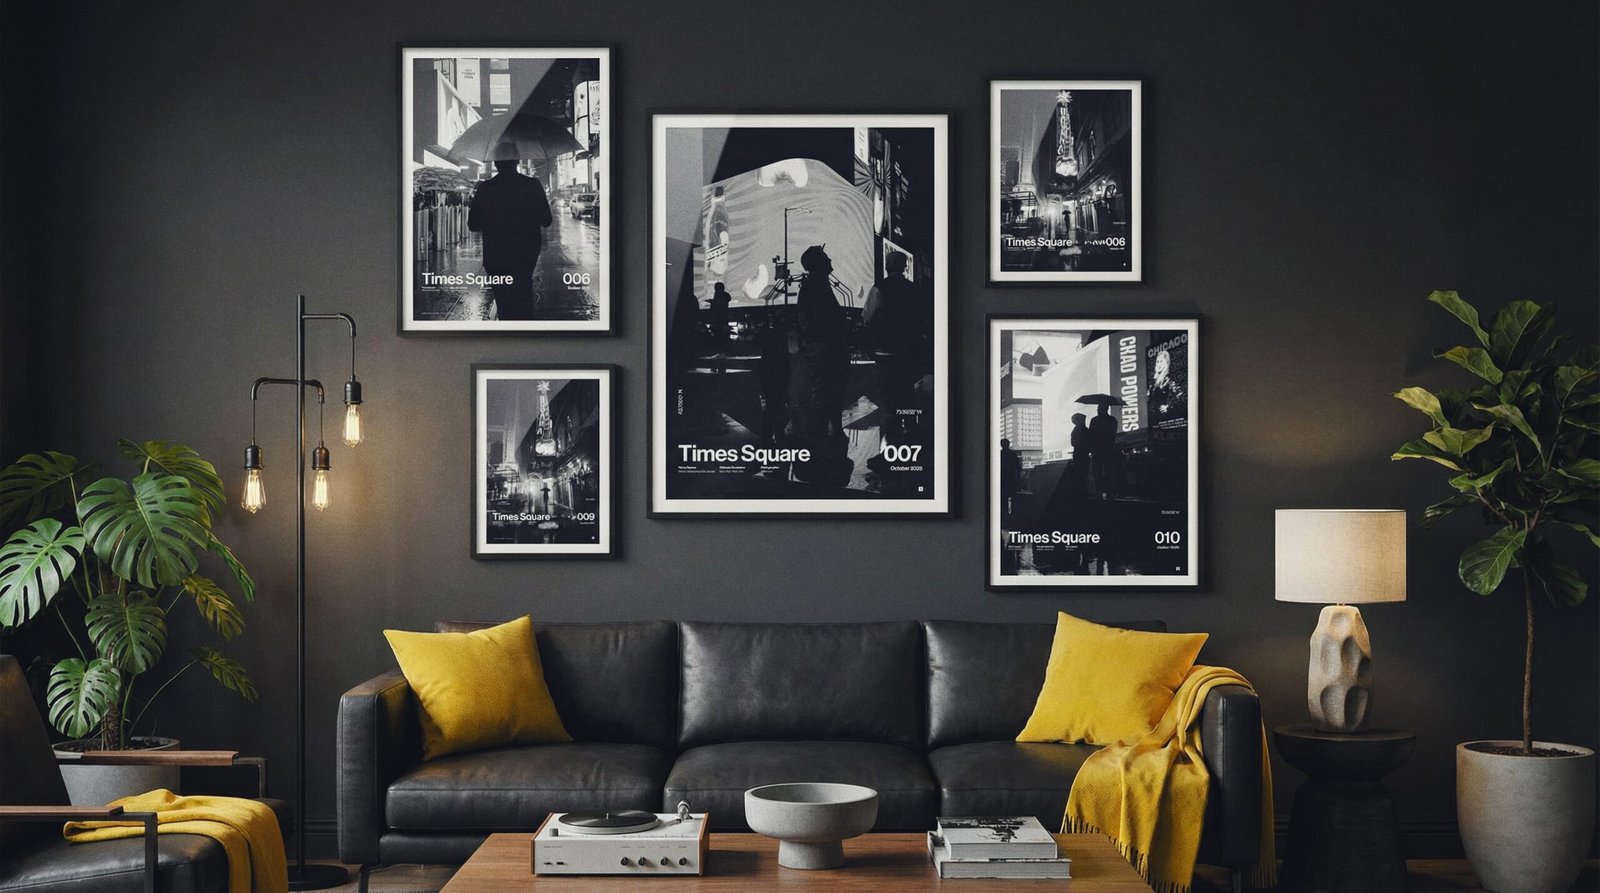
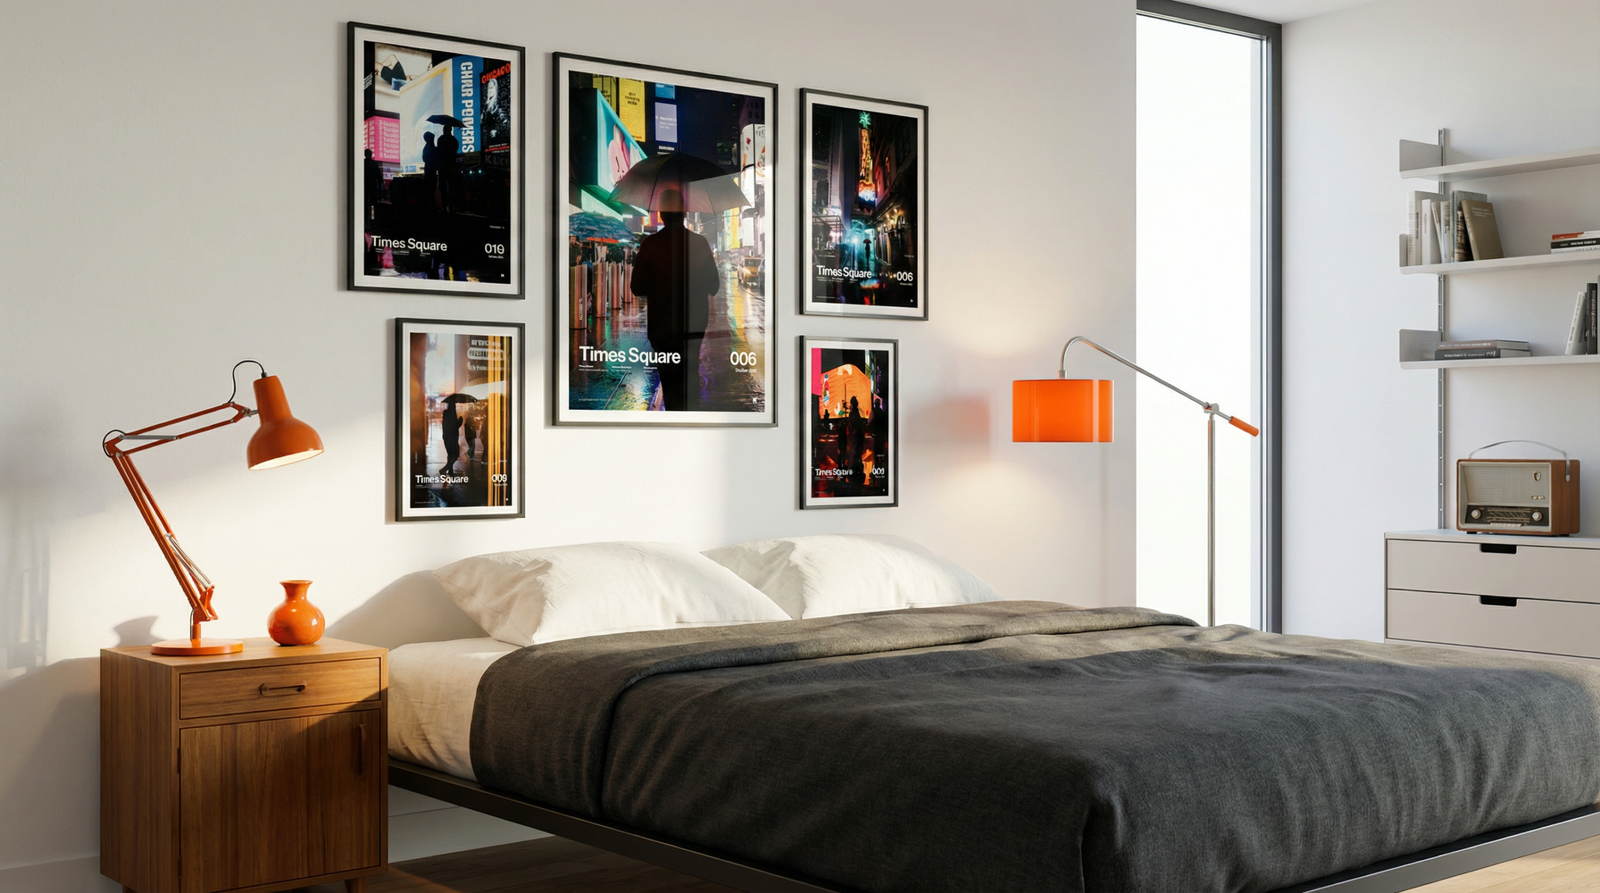
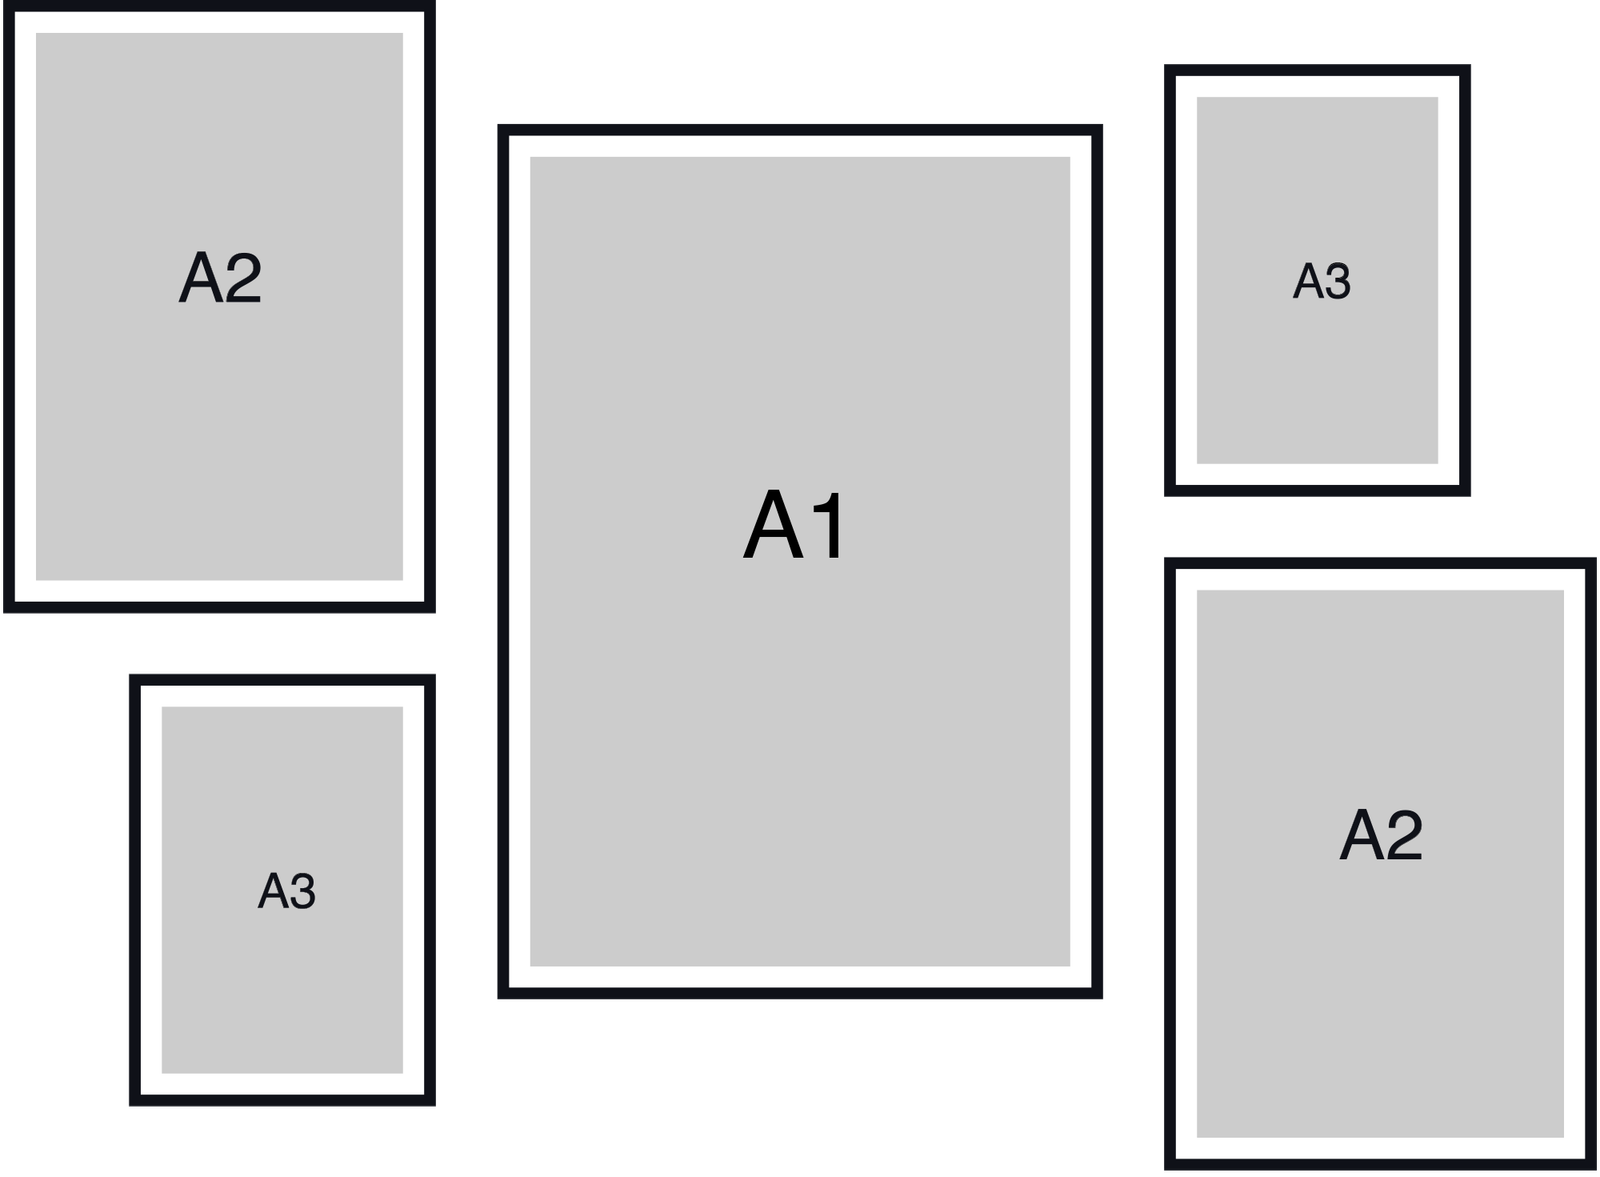
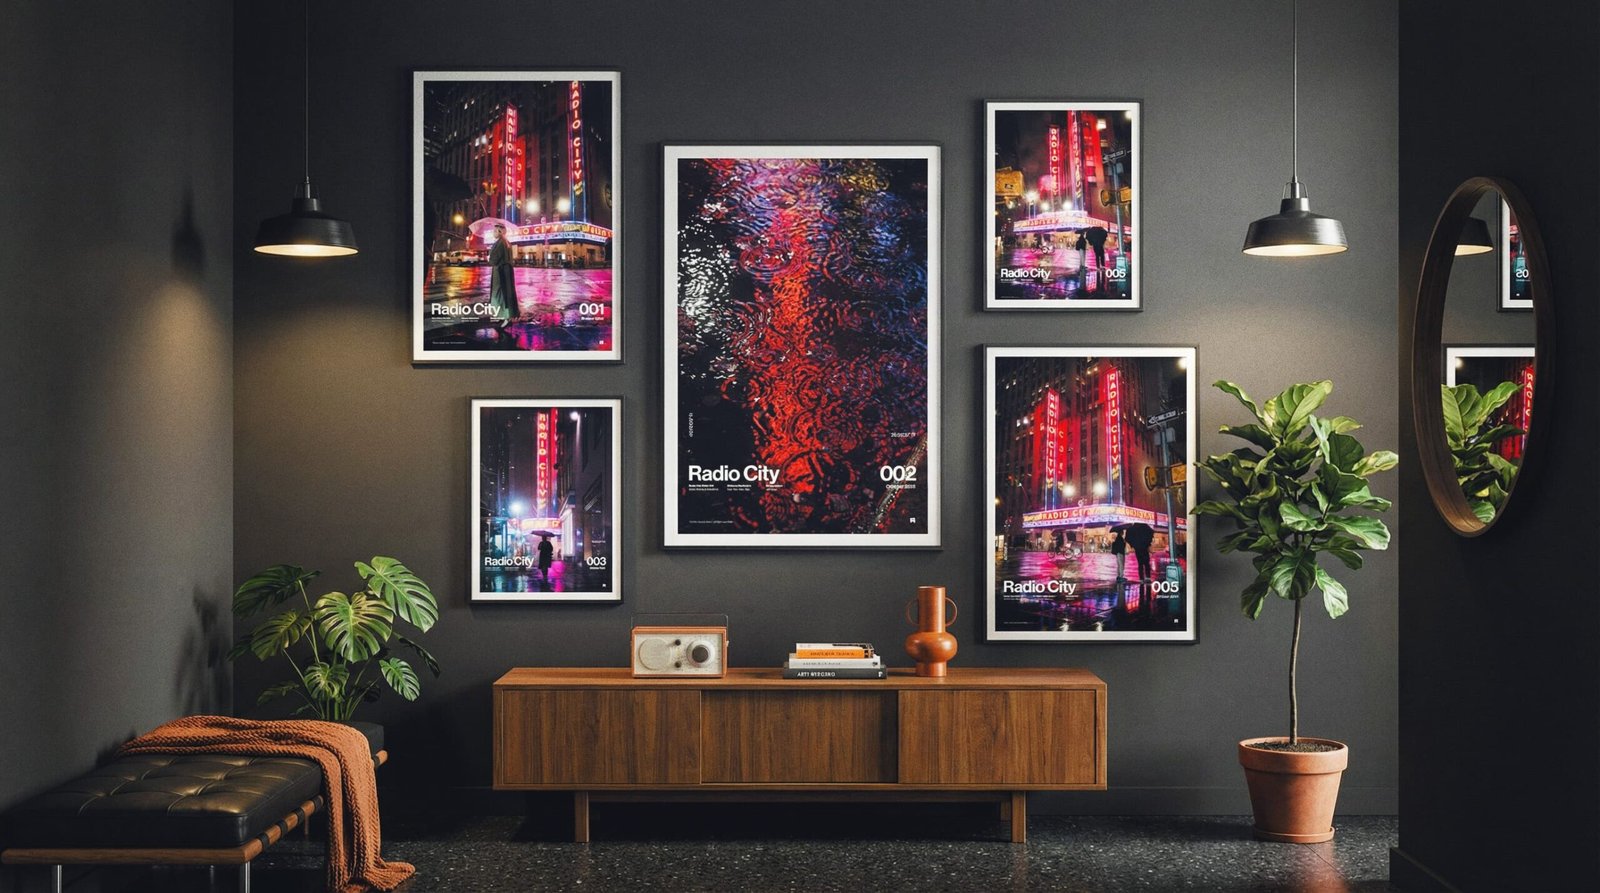
5 Print Asymmetrical
Width
Height
Spacing
Frame width
Best for
Practical Tip
70.96 in (180.26 cm)
48.68 in (123.64 cm)
2.75 in (7 cm)
1.5 in (example)
72–84 in sofa/console
Hang the A1 first (center anchor), then place the A2s, then finish with the A3s—keep equal gaps throughout.
In-Room Examples

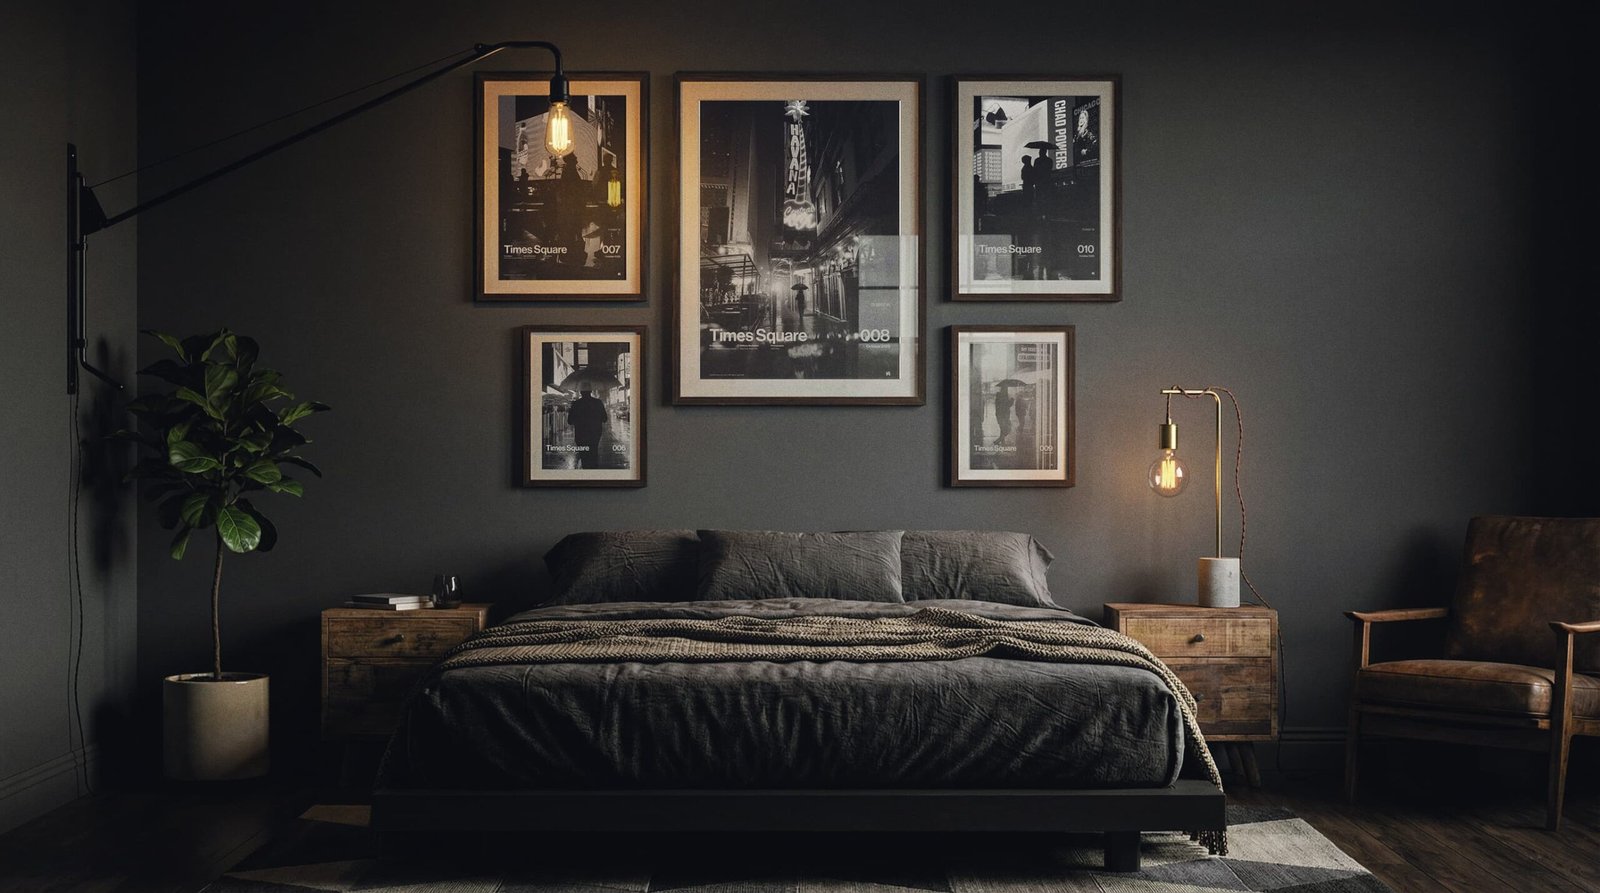
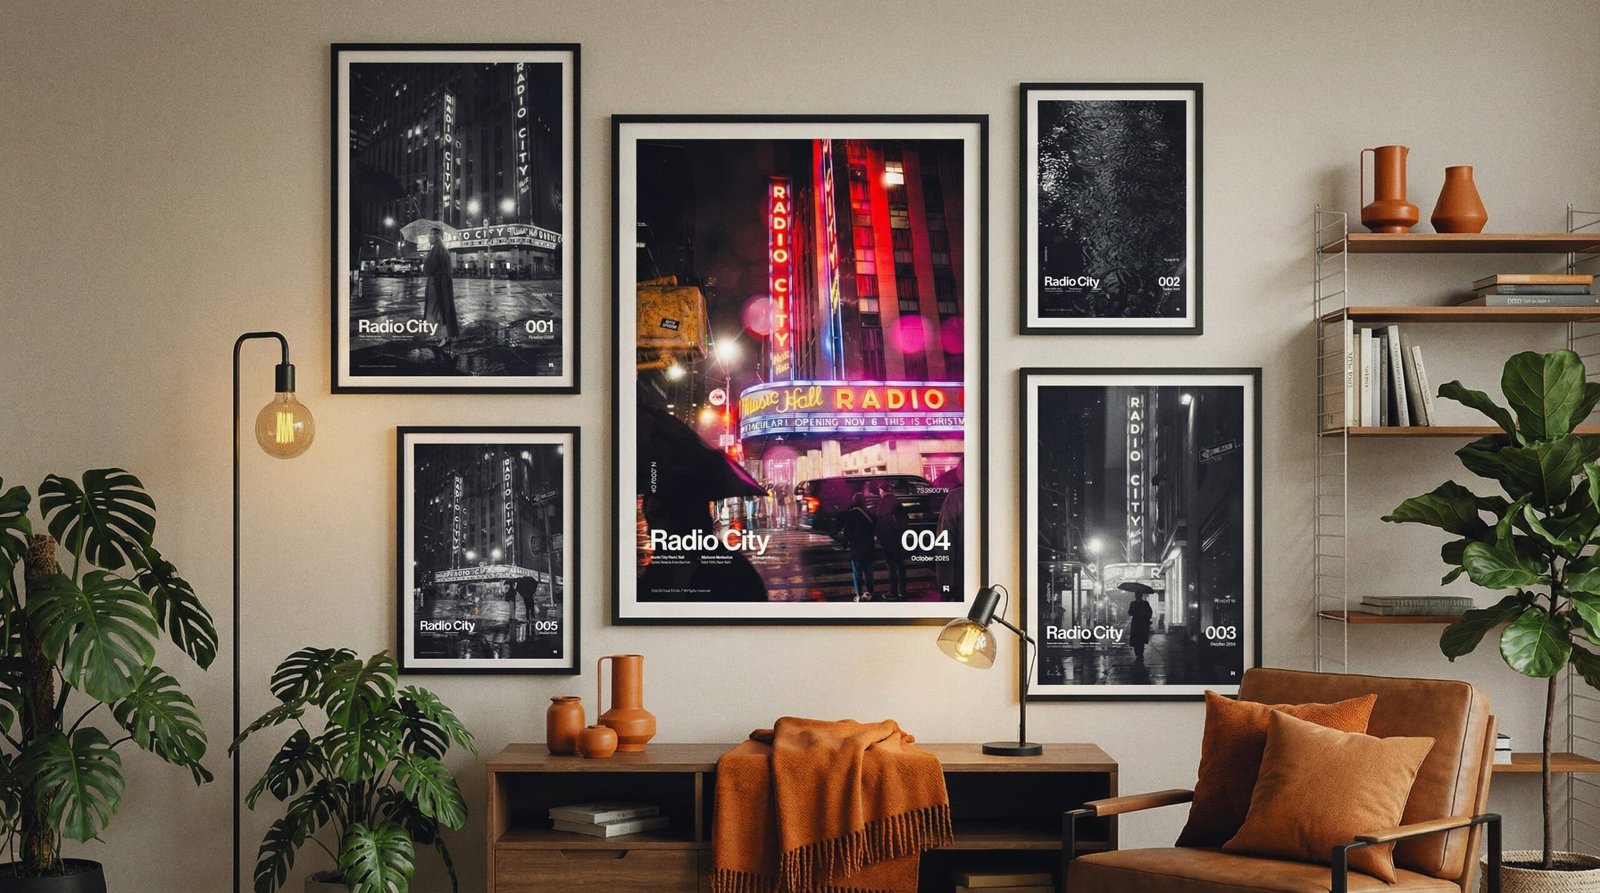
5 Print Asymmetrical — Offset
Width
Height
Spacing
Frame width
Best for
Practical Tip
70.96 in (180.26 cm)
48.68 in (123.64 cm)
2.75 in (7 cm)
1.5 in (example)
72–84 in sofa/console
Hang the A1 first (center anchor), then place the A2s, then finish with the A3s—keep equal gaps throughout.
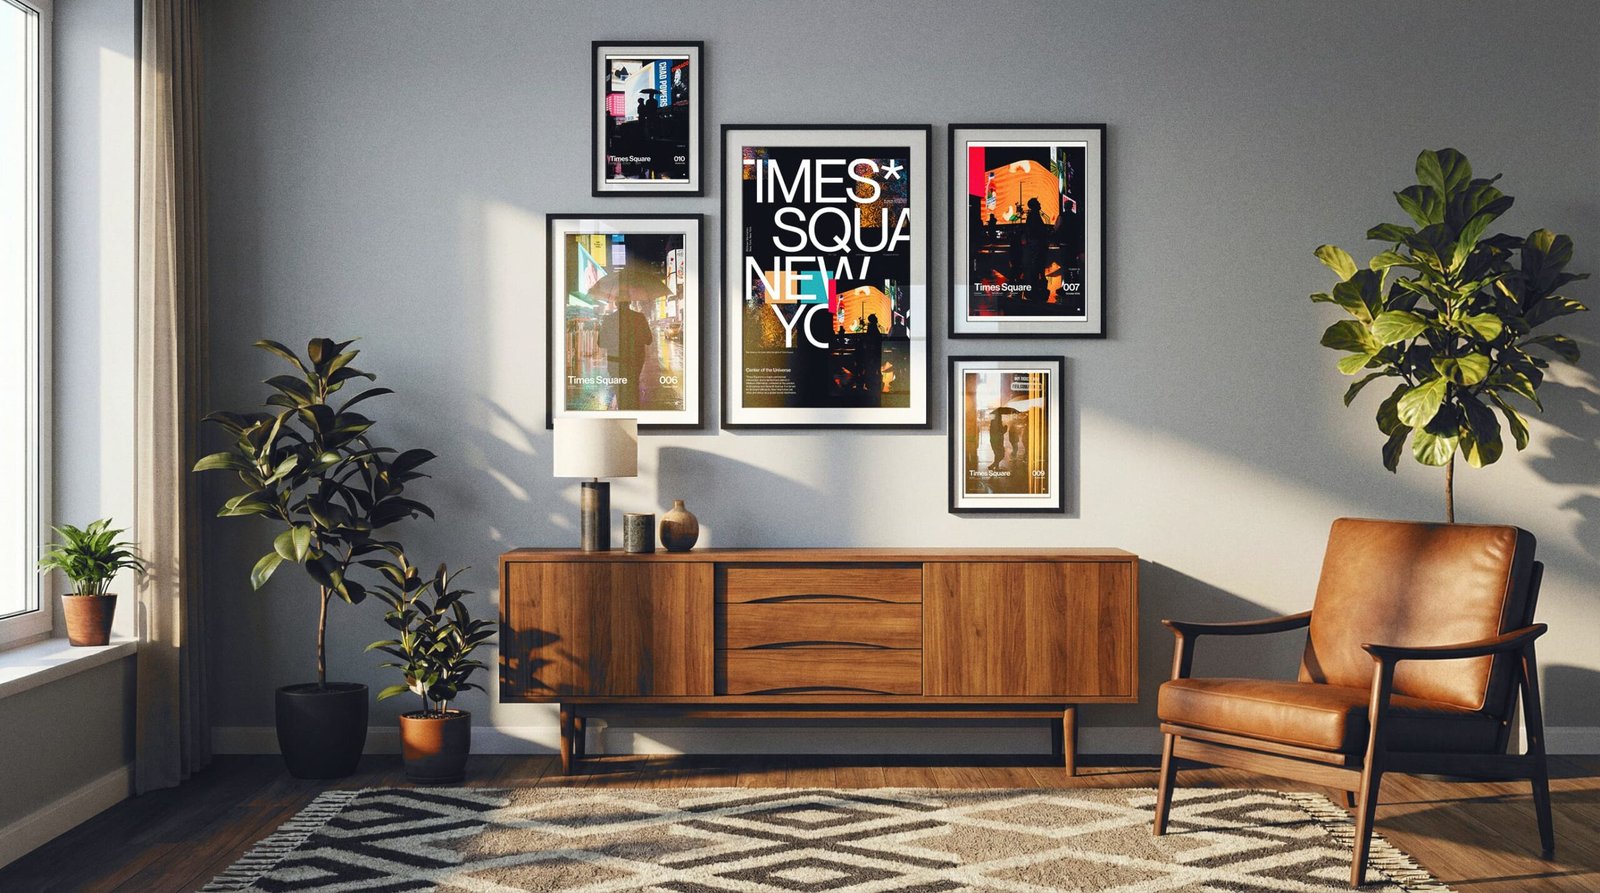
In-Room Examples
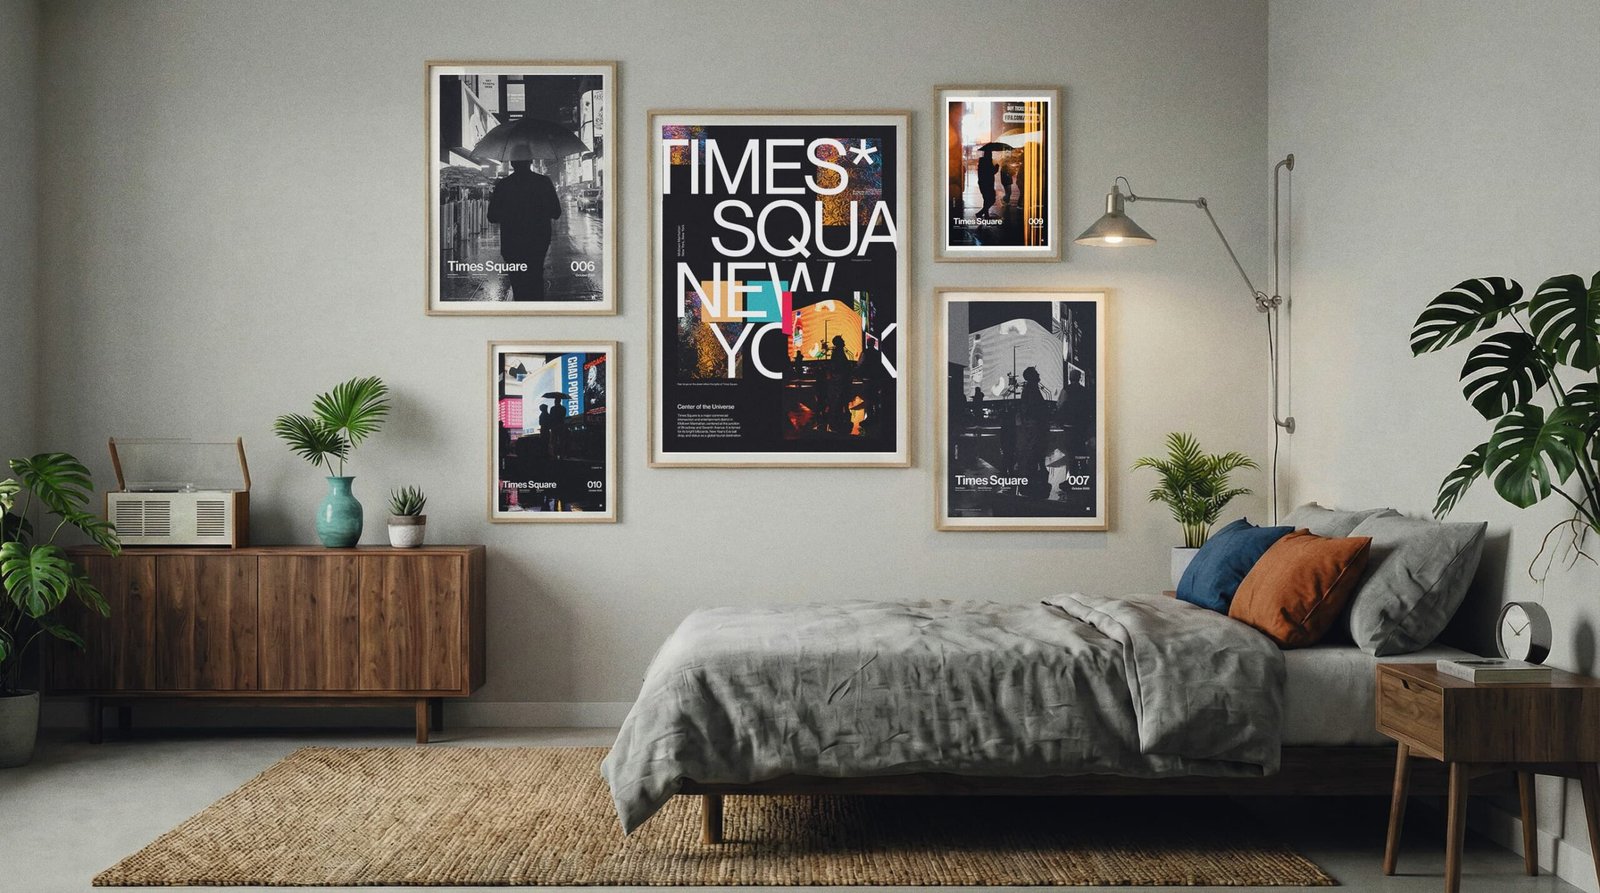
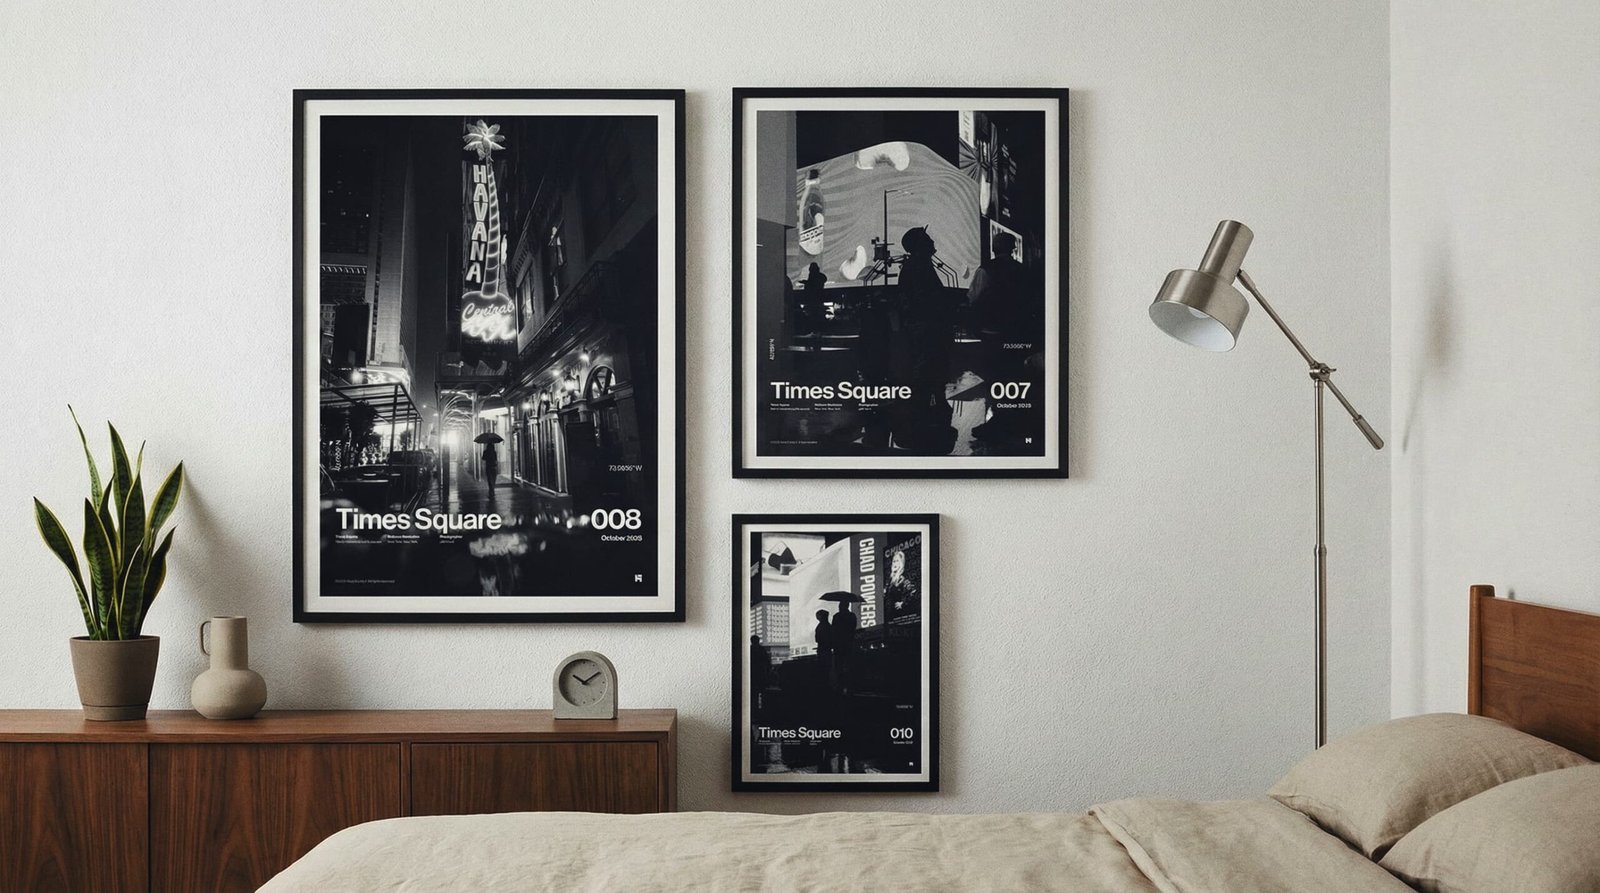
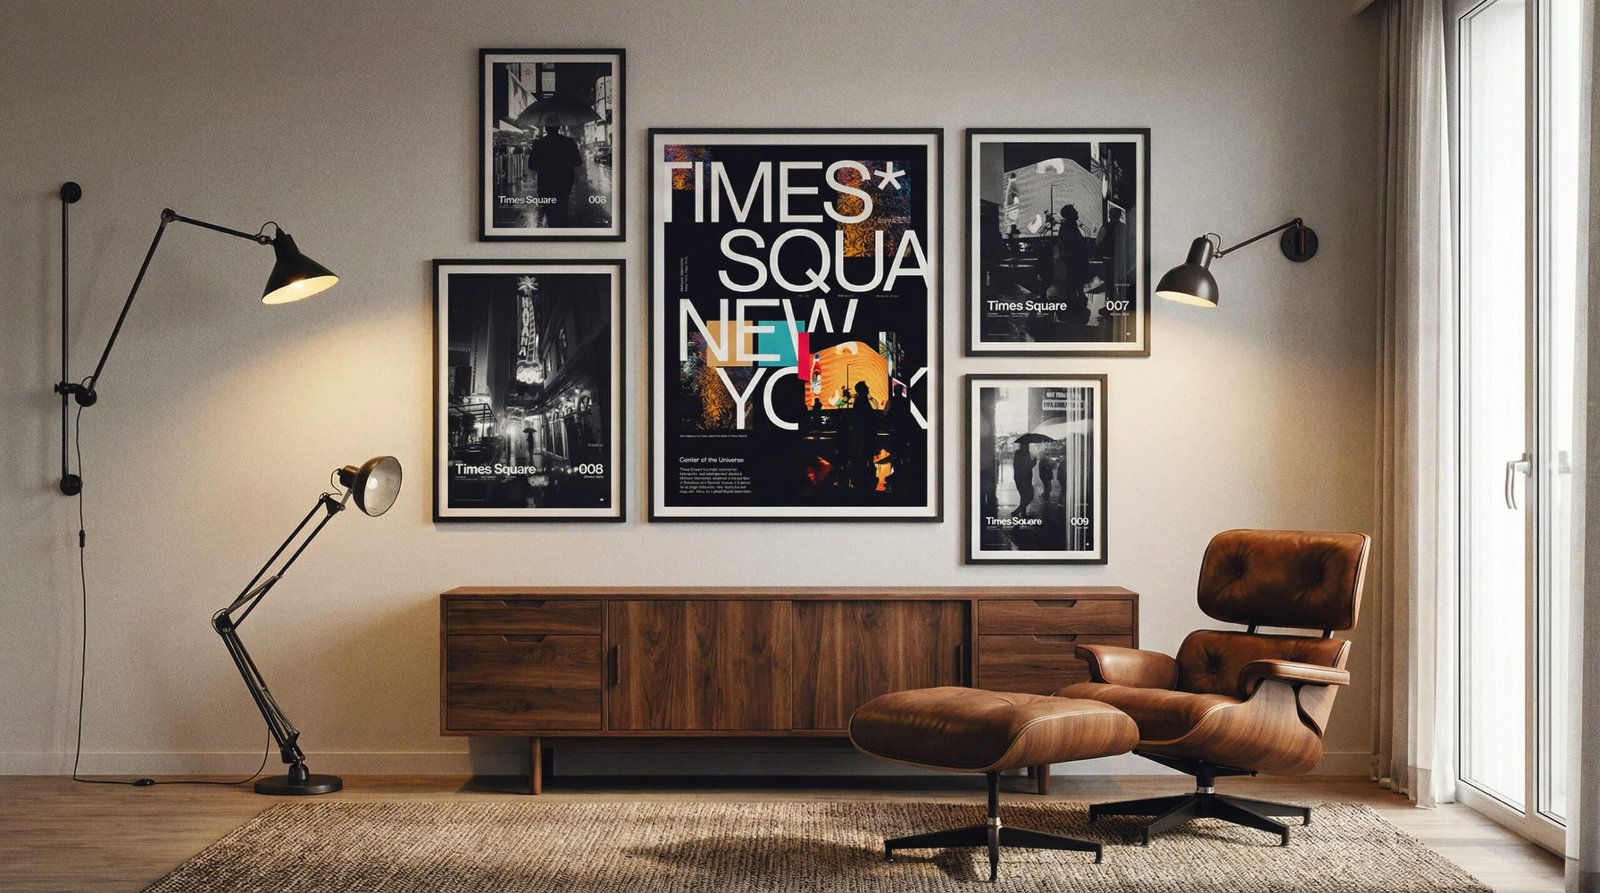
Shown: Times Square 006, 007, 009, 010 + Type